
|
Do it yourself
| |||
| ||||


How to set the clock on the BMW Series 1.
Model: BMW Serie 1
E81, E82, MK 1, E87
- Years 2004-2013
In the following article, we will see how to adjust the time on the BMW Series 1. This procedure takes less than 1 minute to complete. First, turn on the instrument panel without starting the engine, then press the appropriate button to navigate through the menu until you reach the time setting option. Once you find the time menu, confirm it by pressing the BC button located on the side of the turn signal control. Now, use the designated button to adjust the hour. Once the hour is set, confirm by pressing the BC button again. Next, adjust the minutes, and then confirm again with the BC button. Finally, restart the instrument panel to verify that the procedure was completed correctly.
Posted on 26 November 2025 by ScegliAuto
Video tutorial
Related tutorials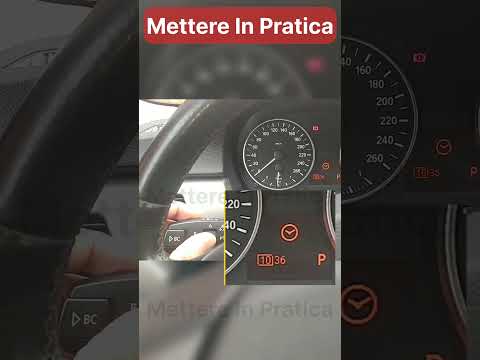
BMW Serie 1
(2004-2013 /
E81, E82, MK 1, E87)
To set the time on your BMW 1 Series, turn on the vehicle's instrument cluster and then press the left lever on the steering wheel. From the menu tha…

BMW Serie 1
(2004-2013 /
E81, E82, MK 1, E87)
In this tutorial, you can see how to set the time in the BMW 1 Series E87, an extremely simple and quick operation to perform, for example, after rep…
BMW Serie 1
(2011-2019 /
MK 2, F20, F21)
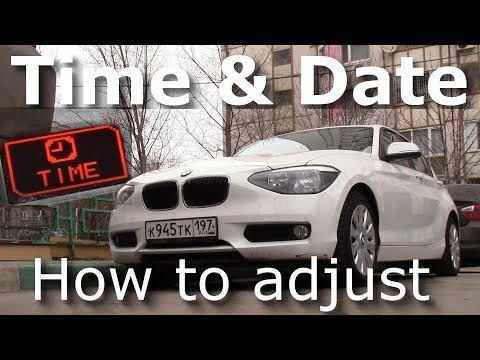
Today, in this brief and simple guide, you will learn how to modify the date and time on a BMW 1 Series. First, get into the car and turn on the inst…
Other guides you may be interested in
|
How to Replace the Diesel Filter of the Peugeot 3008 1.5 BlueHDI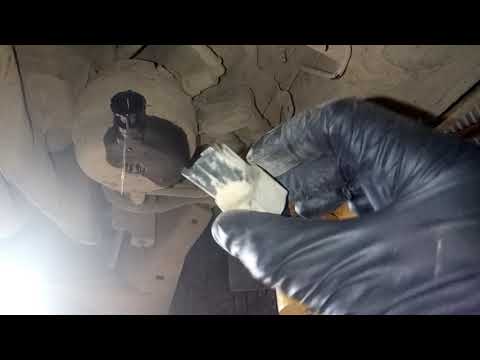
Briefly, we will see the main instructions for dismantling and replacing the diesel filter of the Peugeot 3008 1.5 BlueHDI. First, locate the diesel filter under the vehicle, so it will be necessary to lift it; then disconnect the electrical connector and the fuel lines from the filter, unscrewing the side screws to remove the cartridge, as shown in the video. At this point, replace the diesel filter with the new one, as well as with the original one; then reconnect the pipes and the electrical connector, following the video tutorial to the end! by ScegliAuto More videos
|

|
For advertising on this site Write to info@scegliauto.com
ScegliAuto is not responsible for any inaccuracy of the data in the lists. To report any inaccuracy or your business (if you own the business in question), please write to info@scegliauto.com
Number of seconds to generate the page: 0.401
(c) ScegliAuto 2026 - info@scegliauto.com - Privacy policy VAT number: IT01247470535 |
