
|
Do it yourself
| |||
| ||||


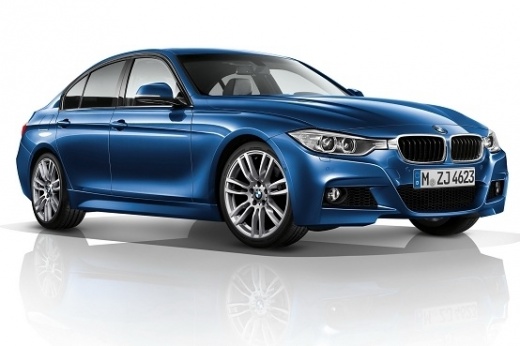
How to Remove the Front Grilles of a BMW 3 Series F30
Model: BMW Serie 3
- Years:
2012, 2013, 2014, 2015, 2016, 2017, 2018, 2019
Video tutorial
To remove the front grilles (kidneys) of the BMW 3 Series F30, it is not necessary to disassemble the entire bumper. The grilles are attached to the bumper with clips; you can remove them by gently prying or pressing the clips from the inside. Open the hood. It is recommended to first remove the upper rubber seal of the bumper to facilitate access. Remove the upper mounting screws (optional but recommended) to gain some maneuvering space. The grilles are secured with clips. You can insert your fingers or a flat tool (or a hook tool) into the space between the grille and the bumper, pressing inward/toward the center to release the clips. After unlocking all the clips, gently pull the grille outward to remove it. If it resists, check for any clips that are still locked, avoiding excessive force that could break the plastic tabs.
Posted on 22 November 2026 by ScegliAuto
Related tutorials
BMW Serie 3
(2012-2019 /
F31, F30)
To replace the front grilles on a BMW 3 Series, simply detach the retaining clips that hold these components in their housing: they are not secured b…

BMW Serie 3
(2012-2019 /
F31, F30)
Want to remove the front grilles from your BMW 3 Series? Let's see how to take them off from above the front bumper. Lift the hood after unlocking it…

BMW Serie 3
(2012-2019 /
F31, F30)
In today's video, you will see how to remove and replace the front grille or bumper cover on the BMW 3 Series F30, as well as on the 1 Series F20, in…
ScegliAuto offers an extensive international collection of automotive tutorials available in 12 languages. Each guide combines instructional videos with original explanations written by experienced human editors, along with information about the car models covered.
Other guides you may be interested in
|
How to Reset the Tyre Pressure Warning Light on the Toyota RAV 4
Today, discover the guide that will allow you to reset the tyre pressure warning light on the Toyota RAV 4; before performing the reset, ensure that all four tyres are at the correct operating pressure. Then, get in the vehicle and turn on the ignition; navigate to the vehicle settings and then to the TPMS option, as shown in the video. At this point, reset the warning light by confirming with the OK button; this will automatically reset the TPMS light on the instrument panel! by ScegliAuto More videos
|
|
For advertising on this site Write to info@scegliauto.com
ScegliAuto is not responsible for any inaccuracy of the data in the lists. To report any inaccuracy or your business (if you own the business in question), please write to info@scegliauto.com
Number of seconds to generate the page: 0.006
(c) ScegliAuto 2026 - info@scegliauto.com - Privacy policy - About us VAT number: IT01247470535 |
