
|
Do it yourself
| |||
| ||||


BMW X5 - Video tutorial
Model: BMW X5
E70
- Years 2007-2013 A rather common problem for the self-leveling suspension on BMW X5 is the blown fuse resulting in the deactivation of this very useful function that guarantees excellent road holding and optimal comfort. The solution is to replace a 40A fuse. The fuse box is located in correspondence with the dashboard, in the lower right corner, in the passenger area. To remove the cover you need a Phillips screwdriver to unscrew three screws that lock it. Once the cover has been removed and the only connector connected to it has been disconnected, access to the fuse box is immediate. Just unscrew a green screw that holds the box to the dashboard. This gives access to the fuse box. The fuse to be replaced is the 40A fuse at the top right. Refit the screws and cover and move to the boot of the vehicle, where there is a second fuse box on the right side. Locate the red 10A fuse, remove it and replace it. As soon as this operation is done, you will hear the sound of the self-leveling system pumps reactivating. It is advisable to carry out an accurate electronic diagnosis to identify the source of the problem as the operations performed are not to be considered a real repair, but a temporary remedy.
Posted on 16 December 2023 by ScegliAuto
Other guides that may interest you
|
Frequently Asked QuestionsHow do you adjust the clutch cable on the Kia Picanto?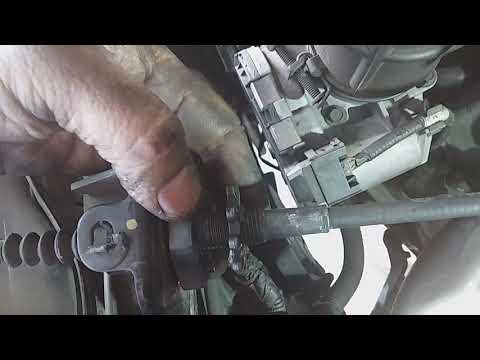
To be able to adjust the clutch cable of the Kia Picanto you need to open the hood so that you have access to the components inside the engine compartment: in order to reach the cable you will need to remove some components on the right side, such as the battery and the air filter. Below them you will find the clutch cable, which will have to be adjusted by screwing or loosening the bolt placed at the end of the cable. This will make the pedal harder or softer; after the adjustment, it will be possible to assemble all the components by closing the hood. by ScegliAuto More videos
|
|
For advertising on this site Write to info@scegliauto.com
ScegliAuto is not responsible for any inaccuracy of the data in the lists. To report any inaccuracy or your business (if you own the business in question), please write to info@scegliauto.com
Number of seconds to generate the page: 0.063
(c) ScegliAuto 2024 - info@scegliauto.com - Privacy Policy VAT number: IT01247470535 |