
|
Do it yourself
| |||
| ||||


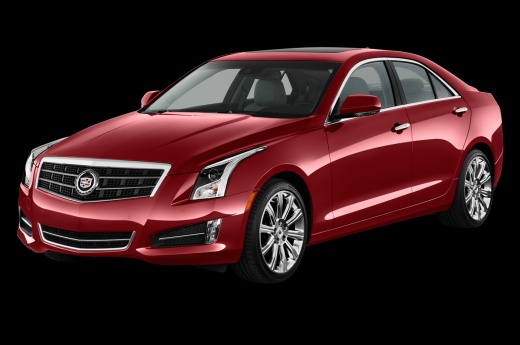
How to Replace the Cabin Air Filter of the Cadillac ATS
Model: Cadillac ATS
MK 1
- Years:
2013, 2014, 2015, 2016, 2017, 2018, 2019
Video tutorial
If you need to replace the cabin air filter of your Cadillac ATS, just follow the steps outlined in this guide. First, turn off the car completely and park it safely on a flat surface. Go inside the car and reach the passenger glove compartment. Open it and proceed to disassemble it by acting on the clips and screws present. Once done, locate the filter box in the rear area and remove the protective cover. Finally, replace the filter and reassemble the parts removed earlier.
Updated on 13 July 2026 by ScegliAuto
Related tutorials
Cadillac ATS
(2013-2019 /
MK 1)
To replace the cabin air filter on this vehicle model, follow the instructions provided below for a correct replacement. First, open the glove compar…

Cadillac ATS
(2013-2019 /
MK 1)
Today, we will go through the instructions to remove and replace the spark plugs in the Cadillac ATS 2.0L. First, open the hood of your car and start…

Cadillac ATS
(2013-2019 /
MK 1)
Replacing the battery inside the remote control of your Cadillac ATS is really very simple. To complete the operation in a few minutes and without en…
ScegliAuto offers an extensive international collection of automotive tutorials available in 12 languages. Each guide combines instructional videos with original explanations written by experienced human editors, along with information about the car models covered.
Other guides you may be interested in
|
How to Remove the Cabin Fan in the Nissan Qashqai?
The cabin fan in any vehicle, specifically the Nissan Qashqai this time, may fail for various reasons: blown fuse, shorted wire, but the most serious issue is a broken fan. This means you need to remove it and check it, and if necessary, replace it. In this vehicle, it is located in the footwell area, so you will need to remove the carpet covering of the centre tunnel, then carefully navigate through the various wires present, and finally, once located, disconnect the electrical wires supplying it and unscrew the fixing screws. by ScegliAuto More videos
|
|
For advertising on this site Write to info@scegliauto.com
ScegliAuto is not responsible for any inaccuracy of the data in the lists. To report any inaccuracy or your business (if you own the business in question), please write to info@scegliauto.com
Number of seconds to generate the page: 0.060
(c) ScegliAuto 2026 - info@scegliauto.com - Privacy policy - About us VAT number: IT01247470535 |
