
|
Do it yourself
| |||
| ||||



Where to Find the Spare Tire on the Chrysler Pacifica
Model: Chrysler Pacifica
MK 1
- Years:
2017, 2018, 2019, 2020, 2021, 2022, 2023, 2024
Video tutorial
How to remove the spare tire from its housing on the Chrysler Pacifica? It may seem complicated, but this guide will show you how. In the trunk, you will see a large panel. Remove it; it is just pressed in, and here you will find your spare tire: a truly unique arrangement! Open the plastic handle and remove the metal plate that holds the module in place. This way, the foam protection comes off easily, allowing you to access the spare tire with ease. Behind the tire, you will find the jack to lift the car. In the foam that held the tire, you can find the wrench to unscrew the bolts from the tire you need to change - remember, always when the vehicle is still on the ground - its exclusive design allows for greater leverage, as it bends at an "L" shape. You also have the tire inflation kit, in case it is a small enough issue. The spare tire looks completely different from the other tires, as it is meant only to get you to the nearest shop, not for traveling.
Updated on 11 July 2026 by ScegliAuto
Related tutorials
Chrysler Pacifica
(2017-2024 /
MK 1)
If you want to be able to independently find the box containing all the various fuses of your Chrysler Pacifica, all you have to do is follow this si…

Chrysler Pacifica
(2017-2024 /
MK 1)
If your Chrysler Pacifica key is no longer working due to a completely dead battery, read the following guide carefully and follow the steps one by o…

Chrysler Pacifica
(2017-2024 /
MK 1)
After several months of use, your Chrysler Pacifica key fob may suddenly stop working due to a completely dead battery. Below, you will learn how to …
Other guides you may be interested in
|
How to Set the Date and Time on the Iveco Daily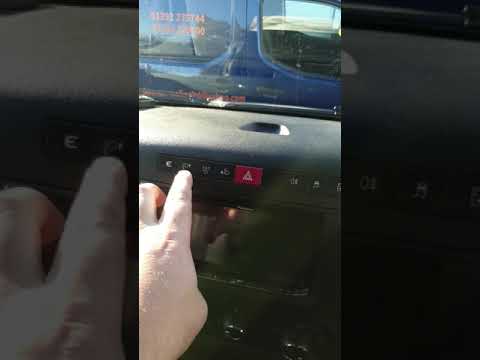
Today, we will see in this video tutorial how to change the date and time on the Iveco Daily. First, get into the vehicle and turn on the instrument panel; then go to the vehicle settings on the central display, pressing the relevant option for date and time. At this point, press the "set" button located at the top, using the physical arrow buttons to set both the date and time; finally, exit the onboard computer menu to save the changes made! by ScegliAuto More videos
|
|
For advertising on this site Write to info@scegliauto.com
ScegliAuto is not responsible for any inaccuracy of the data in the lists. To report any inaccuracy or your business (if you own the business in question), please write to info@scegliauto.com
Number of seconds to generate the page: 0.033
(c) ScegliAuto 2026 - info@scegliauto.com - Privacy policy VAT number: IT01247470535 |
