
|
Do it yourself
| |||
| ||||


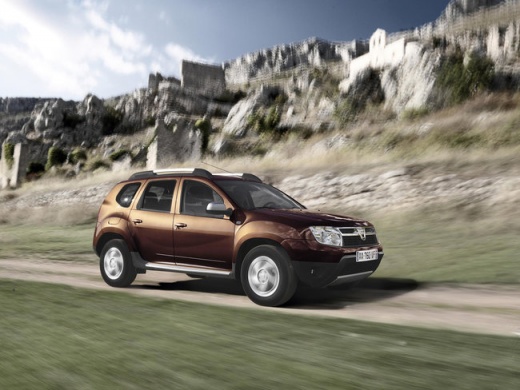
Medianav Navigation Guide for Dacia Duster
Model: Dacia Duster
MK 1, HS
- Years:
2010, 2011, 2012, 2013, 2014, 2015, 2016, 2017
This video is currently unavailable
In this video guide, you will learn about the Medianav navigation system in the Dacia Duster while performing an update. Insert the USB stick with the update into the display's USB port and turn on your Medianav: wait a few seconds for the update to appear. Click on update, and if the radio restarts automatically, it means the update has been successfully completed. Follow the same procedure for updating other packages. To view videos, go to the multimedia player and during playback, press the plus and minus buttons twice.
Updated on 18 March 2026 by ScegliAuto
Related tutorials
Dacia Duster
(2010-2017 /
MK 1, HS)
In this guide, you will learn how to update the original Medianav of a Dacia Duster. This operation is very simple: enter the vehicle, turn on the in…

Dacia Duster
(2017-2024 /
HM, MK 2)
To replace the Medianav in the Dacia Duster, use a tool to lever off the plastic cover surrounding the display. Removing this part will give you acce…
Dacia Duster
(2017-2024 /
HM, MK 2)
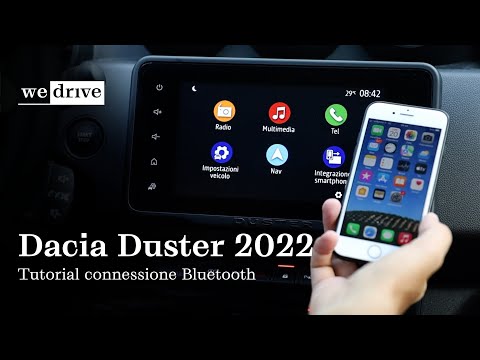
In this video, you will learn how to connect your smartphone to the Dacia Duster MK2. In this case, we will connect an iPhone, but the procedure is t…
Other guides you may be interested in |
Frequently Asked QuestionsHow to Remove the Rear Seat of a Hyundai Tucson?
To remove the rear seat of a Hyundai Tucson, follow these steps. Start by moving the front seats to their most forward position to gain space. Next, locate the release lever on the underside of the rear seat, near the floor. Press this lever down while pulling the seat upwards to unlock it from the anchor pins. Once unlocked, tilt the seat upwards and forwards to remove it from its position. Repeat this process for both sides of the rear seat. Be careful of any electrical cables or components that may be connected to the seat during removal. Once the rear seat is removed, the disassembly is complete. by ScegliAuto More videos
|
|
For advertising on this site Write to info@scegliauto.com
ScegliAuto is not responsible for any inaccuracy of the data in the lists. To report any inaccuracy or your business (if you own the business in question), please write to info@scegliauto.com
Number of seconds to generate the page: 0.015
(c) ScegliAuto 2026 - info@scegliauto.com - Privacy policy VAT number: IT01247470535 |
