
|
Do it yourself
| |||
| ||||


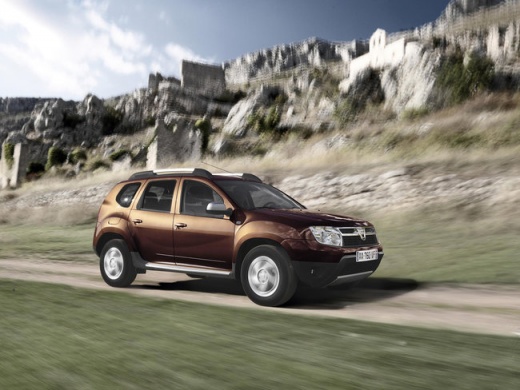
How to Remove the Rear Door Panel of a Dacia Duster?
Model: Dacia Duster
MK 1, HS
- Years:
2010, 2011, 2012, 2013, 2014, 2015, 2016, 2017
Video tutorial
Before starting, open the rear door of your Dacia Duster. Begin by removing the clip that secures the window lift handle, then remove the handle itself. Next, unclip and remove the covers of the fixing screws, then remove the screws. At this point, unclip the internal supports. This will free the door panel itself. Once you complete this step, slightly pull away the door panel, then unclip the handle cable, and you will have finished the disassembly.
Updated on 10 April 2026 by ScegliAuto
Related tutorials
Dacia Duster
(2010-2017 /
MK 1, HS)
Removing the rear panel of the Duster? Open the door and begin disassembly of the panel. Remove the window winding handle, undo the screws located in…

Dacia Duster
(2010-2017 /
MK 1, HS)
Before starting, open the front door of your Dacia Duster. First, unclip and remove the window switch from its housing, then disconnect the electrica…

Dacia Duster
(2017-2024 /
HM, MK 2)
In this video tutorial, learn how to remove and replace the front door panel of the Dacia Duster by following these simple and quick steps. First, op…
Other guides you may be interested in |
How to Reset the Tire Pressure Light on a MG ZS?
On the instrument cluster of the MG ZS, the tire pressure light that appears can be reset by inflating the tires to the correct pressure: this value will be indicated on the sticker attached to the driver's door pillar. Once the tires have been properly inflated, you can turn on the instrument cluster and navigate through the menu until you find the option that indicates tire pressure: if this screen shows the new values, the light will turn off; otherwise, you will need to drive for a few miles so that the sensors can read the new values and turn off the light afterward. by ScegliAuto More videos
|
For advertising on this site Write to info@scegliauto.com
ScegliAuto is not responsible for any inaccuracy of the data in the lists. To report any inaccuracy or your business (if you own the business in question), please write to info@scegliauto.com
Number of seconds to generate the page: 0.019
(c) ScegliAuto 2026 - info@scegliauto.com - Privacy policy VAT number: IT01247470535 |
