
|
Do it yourself
| |||
| ||||


How to Replace the Front Headlamp Bulb on a Dacia Duster 1
Model: Dacia Duster
HS, MK 1
- Years 2010-2017
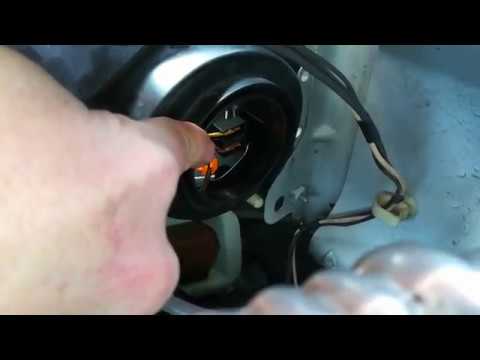
In this tutorial, you will learn how to replace the front headlamp bulb on a Dacia Duster 1 by following a few simple steps: First, get into the vehicle, turn off the engine, and pull the handbrake; lift the bonnet and secure it with the prop rod. To change the H1 bulb, remove the cover from the grille side, grasp the black electrical connector, and pull it out; to remove the bulb, push and simultaneously pull upwards to release the retaining clip. Now, rotate the clip to the right and remove the bulb. Be careful with the orientation when fitting the new bulb. Insert the new bulb, secure the metal clip, reconnect the connector, and then replace the plastic cover.
Updated on 19 June 2026 by ScegliAuto
Video tutorial
Related tutorials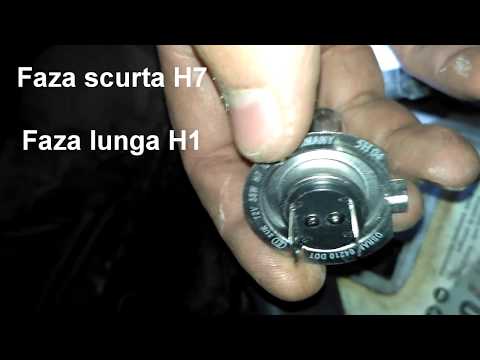
Dacia Duster
(2010-2017 /
HS, MK 1)
To replace the front headlamp bulb on a Dacia Duster, open the bonnet to access the rear of the headlamp. Remove the circular cover that protects the…

Dacia Duster
(2017-2024 /
HM, MK 2)
Replacing the front headlight bulb of the Dacia Duster model 2 can be done independently. Let's start by opening the front hood and proceed with remo…
Dacia Duster
(2010-2017 /
HS, MK 1)
Learn how to replace the front headlamp bulbs on a Dacia Duster. Open the bonnet (by pulling the lever located at the bottom right of the dashboard) …
Other guides you may be interested in
|
How to Connect the Cables to the Battery of the Citroen Xsara Picasso?
In this tutorial, you will see how to connect the cables to the battery of the Citroen Xsara Picasso, useful if you need to recharge it or perform an emergency start. First, ensure the key is not inserted, then open the bonnet and move to the front of the left headlamp. Next, locate the bolt just behind the filter box and connect the positive terminal clamp to it. Now you can connect the negative terminal to any point on the chassis, such as the indicated point. Once the operation is complete, ensure you disconnect the negative first and then the positive. by ScegliAuto More videos
|
|
For advertising on this site Write to info@scegliauto.com
ScegliAuto is not responsible for any inaccuracy of the data in the lists. To report any inaccuracy or your business (if you own the business in question), please write to info@scegliauto.com
Number of seconds to generate the page: 1.146
(c) ScegliAuto 2026 - info@scegliauto.com - Privacy policy VAT number: IT01247470535 |
