
|
Do it yourself
| |||
| ||||


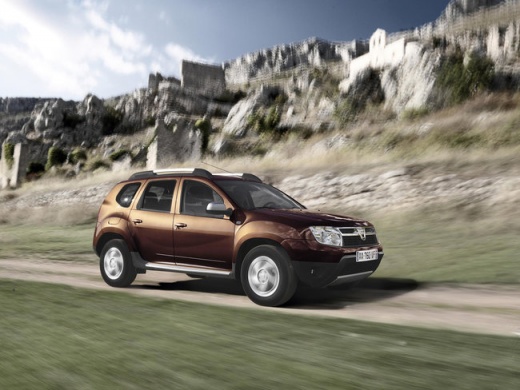
Where is the OBD Port in the Dacia Duster?
Model: Dacia Duster
MK 1, HS
- Years:
2010, 2011, 2012, 2013, 2014, 2015, 2016, 2017
Video tutorial
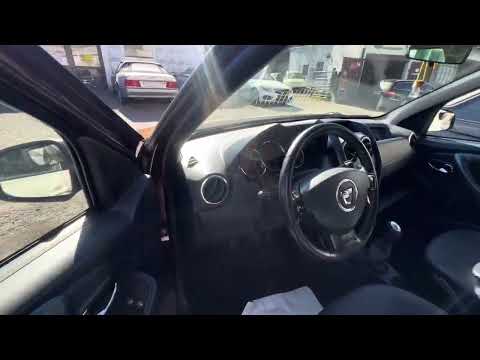
In this video, you will see where the OBD port is located in the Dacia Duster, useful if you need to read the error codes recorded by the ECU using the appropriate scanner. As shown, the diagnostic port is located inside the cabin, specifically at the bottom of the glove compartment on the passenger side. To access it, simply open the glove box and remove the grey plastic cover. Before connecting the scanner, ensure that the pins in both ports are in good condition and that the key is not inserted to avoid damaging the ECU.
Updated on 21 September 2026 by ScegliAuto
Related tutorials
Dacia Duster
(2010-2017 /
MK 1, HS)
If you cannot find the OBD port in your first-generation Dacia Duster, don't worry because with the instructions in this new guide, you will be able …

Dacia Duster
(2010-2017 /
MK 1, HS)
To easily locate the OBD port inside your Dacia Duster first edition, simply follow the procedure described below. First, enter the car and reach the…
Dacia Duster
(2017-2024 /
HM, MK 2)
To be able to locate the OBD port inside your Dacia Duster second series, all you have to do is follow the few simple steps described in the followin…
Other guides you may be interested in
|
Frequently Asked QuestionsHow to Remove the Toll Tag Holder from the Car Windscreen
The toll tag holder is usually attached to the car windscreen to ensure that the toll tag functions immediately when passing through barriers. However, if you decide to remove the holder, you should follow this procedure: - Insert the toll tag into the holder; - Pull the holder inwards to detach it from the windscreen; you can use a glass scraper or a stiff plastic card to assist you; After removing the holder, it is essential to remove the adhesive from the windscreen. To remove the adhesive, we recommend using a solvent-based spray that will remove the glue without clouding the area. by ScegliAuto More videos
|
|
For advertising on this site Write to info@scegliauto.com
ScegliAuto is not responsible for any inaccuracy of the data in the lists. To report any inaccuracy or your business (if you own the business in question), please write to info@scegliauto.com
Number of seconds to generate the page: 0.082
(c) ScegliAuto 2026 - info@scegliauto.com - Privacy policy VAT number: IT01247470535 |
