
|
Do it yourself
| |||
| ||||


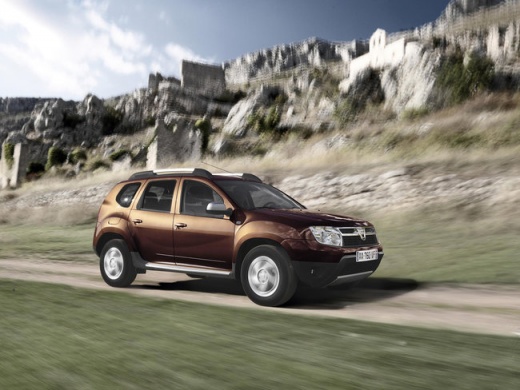
DPF Regeneration Light on the Dacia Duster
Model: Dacia Duster
MK 1, HS
- Years:
2010, 2011, 2012, 2013, 2014, 2015, 2016, 2017
Video tutorial
On diesel cars equipped with a DPF, such as the Dacia Duster, it is important that the regeneration cycles are not interrupted. To know when regeneration is in progress, you can create a light to alert you. To do this, obtain a coloured LED and a 470-ohm resistor, solder one terminal of the resistor to the positive terminal of the LED and the other to a piece of wire, and solder another wire to the negative terminal of the LED, insulating the areas where you have worked with heat-shrink tubing. Using a plastic lever, detach the mirror from the driver's side exterior mirror, solder the LED wires in parallel to the demister, ensuring correct polarity. Refit the mirror, positioning the LED on the lower edge.
Updated on 22 September 2026 by ScegliAuto
Related tutorials
Dacia Duster
(2017-2024 /
HM, MK 2)
In order to reset the AdBlue warning light of the Dacia Duster, first you will need to check that the level of additional fluid is correct inside the…
Dacia Duster
(2010-2017 /
MK 1, HS)
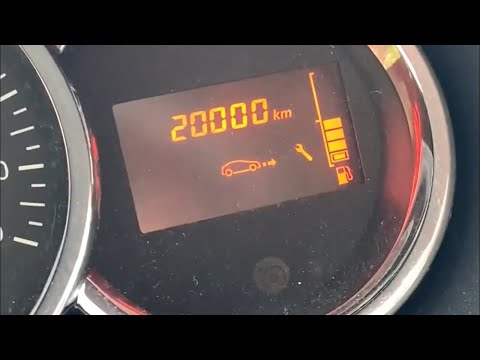
Before you can start, sit in the driver's seat of your Dacia Duster. Begin by activating the instrument cluster by simply turning the key in the igni…

Dacia Duster
(2017-2024 /
HM, MK 2)
In this video, we will see how to clean the MAF sensor inside the 1.5 DCi engine of a Dacia Duster MK2. The sensor is located on the air intake pipe,…
Other guides you may be interested in |
How to Remove the Rear Seat of a Hyundai Tucson?
To remove the rear seat of a Hyundai Tucson, follow these steps. Start by moving the front seats to their most forward position to gain space. Next, locate the release lever on the underside of the rear seat, near the floor. Press this lever down while pulling the seat upwards to unlock it from the anchor pins. Once unlocked, tilt the seat upwards and forwards to remove it from its position. Repeat this process for both sides of the rear seat. Be careful of any electrical cables or components that may be connected to the seat during removal. Once the rear seat is removed, the disassembly is complete. by ScegliAuto More videos
|
|
For advertising on this site Write to info@scegliauto.com
ScegliAuto is not responsible for any inaccuracy of the data in the lists. To report any inaccuracy or your business (if you own the business in question), please write to info@scegliauto.com
Number of seconds to generate the page: 0.009
(c) ScegliAuto 2026 - info@scegliauto.com - Privacy policy VAT number: IT01247470535 |
