
|
Do it yourself
| |||
| ||||


How to Remove and Paint the Front Bumper of a Fiat Ducato
Model: Fiat Ducato
X250
- Years 2006-2014
This video tutorial shows how to remove and paint the bumper of a Fiat Ducato camper. Removing the bumper can be challenging if the screws are particularly rusty, so it is important to use WD40 spray and a wire brush before attempting to unscrew them. Remove the right and left wheel arch liners using a flat-head screwdriver to detach the plastic clips. Using a screwdriver with a socket insert, unscrew all the screws securing the bottom of the bumper to the chassis. Open the bonnet and unscrew the upper screws. Once the front bumper is removed, begin painting. First, clean the bumper with silicone remover, and once dry, proceed to paint by mixing the catalyst colour 4 to 1 and diluting it with thinner. Pour the catalysed paint into the small reservoir of the spray gun and spray the colour onto the surface. After careful drying and applying polish, refit the bumper.
Posted on 27 September 2026 by ScegliAuto
Video tutorial
Related tutorials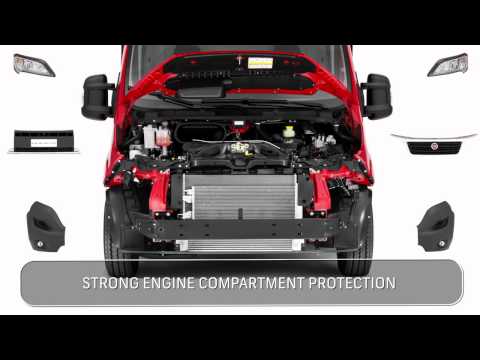
Fiat Ducato
(2014-2026 /
X290)
Do you want to replace the front bumper on your Fiat Ducato? Follow these steps to remove the front bumper along with all attached parts. Lift the fr…
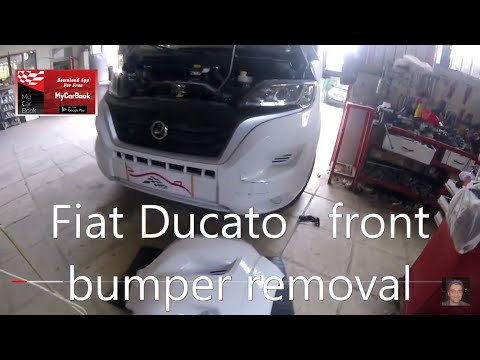
Fiat Ducato
(2014-2026 /
X290)
Today's main instructions will show you how to remove and replace the front bumper of the Fiat Ducato. First, open the bonnet and unscrew all the fas…
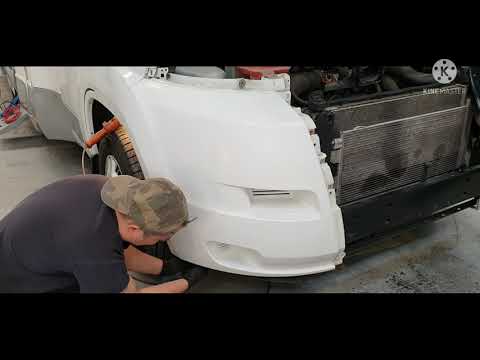
Fiat Ducato
(2006-2014 /
X250)
In this brief and simple guide, you will learn how to remove the front bumper of the Fiat Ducato by following the instructions below. First, open the…
Other guides you may be interested in
|
How to Adjust the Headlights on a Dacia Sandero
To adjust the headlights on a Dacia Sandero, turn on the instrument panel by rotating the appropriate key in the ignition switch. Once the panel is on, use the knob located to the left of the steering column, at the bottom of the dashboard. Turning this knob counterclockwise will lower the beam of the headlights; conversely, turning it clockwise will raise the beam. Once the correct angle is found, you can turn off the instrument panel. by ScegliAuto More videos
|
|
For advertising on this site Write to info@scegliauto.com
ScegliAuto is not responsible for any inaccuracy of the data in the lists. To report any inaccuracy or your business (if you own the business in question), please write to info@scegliauto.com
Number of seconds to generate the page: 0.237
(c) ScegliAuto 2026 - info@scegliauto.com - Privacy policy VAT number: IT01247470535 |
