
|
Do it yourself
| |||
| ||||


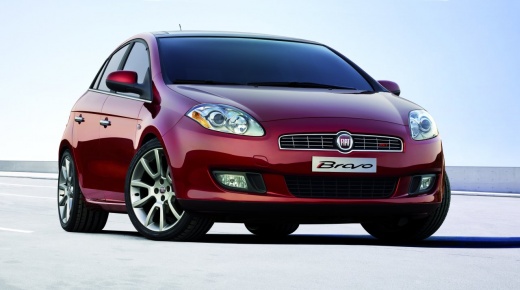
How to Replace the Side Indicator on a Fiat Bravo
Model: Fiat Bravo
Bravo 2
- Years:
2007, 2008, 2009, 2010, 2011, 2012, 2013, 2014
Video tutorial
Using a thin but sturdy plastic tool, lever the side indicator out of your Fiat Bravo. Once done, disconnect the outer cover of the indicator from the bulb by turning it anti-clockwise and then pulling it out. This will expose the bulb, which also needs to be removed, completing the disassembly. To fit the new bulb and reassemble everything, simply reverse these instructions. Once you complete this step, you will have finished replacing the side indicator on your Fiat Bravo.
Updated on 4 April 2026 by ScegliAuto
Related tutorials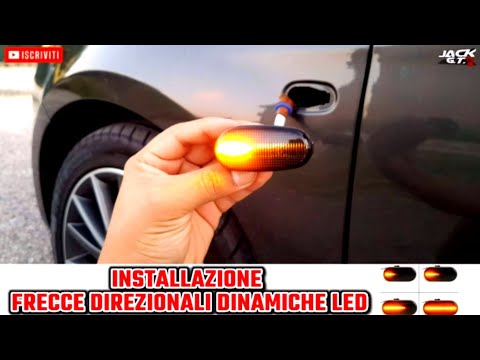
Fiat Bravo
(2007-2014 /
Bravo 2)
In this video tutorial, you will see instructions on how to remove and replace the bulbs of the side indicators on a second series Fiat Bravo. First,…
Fiat Bravo
(2007-2014 /
Bravo 2)
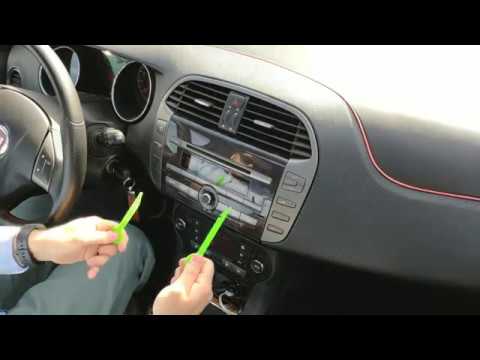
How to replace the damaged stereo in a Fiat Bravo? Here’s how to remove it. Use the original metal keys to remove the stereo from the Fiat Bravo. Ins…
Fiat Bravo
(2007-2014 /
Bravo 2)
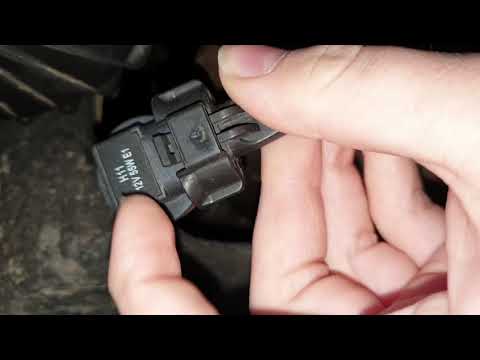
Replace the fog light bulb on a Fiat Bravo. Here’s how to remove the damaged bulb. Remove the plastic cover at the bottom of the bumper (plastic cap)…
Other guides you may be interested in |
How to Reset the Tyre Pressure Warning Light on a Kia Rio?
The tyre pressure warning light displayed on the instrument cluster of the Kia Rio can be reset by inflating the tyres until they reach the recommended pressure value: this value is indicated on the sticker affixed to the driver's door pillar. Once all tyres have been inflated to the recommended pressure, turn on the ignition to check that the light has disappeared: if it is still present, it may be necessary to drive for a few miles, allowing the sensors to work and thus turning off the light. by ScegliAuto More videos
|
|
For advertising on this site Write to info@scegliauto.com
ScegliAuto is not responsible for any inaccuracy of the data in the lists. To report any inaccuracy or your business (if you own the business in question), please write to info@scegliauto.com
Number of seconds to generate the page: 0.185
(c) ScegliAuto 2026 - info@scegliauto.com - Privacy policy VAT number: IT01247470535 |
