
|
Do it yourself
| |||
| ||||


DIY Windscreen Replacement
Model: Fiat Panda
169, MK 2
- Years 2003-2012
Windscreen replacement is a delicate and potentially dangerous task. To prevent accidental breakage of the glass during removal, protect the interior of the vehicle with covers to avoid glass shards spreading into the ventilation system. Also, use appropriate hand and eye protection. Start by lowering the front windows, then use a sturdy plastic tool to remove the seal and trims around the glass. Protect the engine air intakes and proceed to lift the windscreen for removal. It is advisable to perform this operation using suction cups. Clean the edge thoroughly with a tool to remove any residue from the old seal. Apply the appropriate sealant around the edge of the new glass you will position on the vehicle using the suction cups. Place the spacers along the edge of the glass to position it correctly. Complete the sealing.
Updated on 8 February 2026 by ScegliAuto
Video tutorial
Related tutorials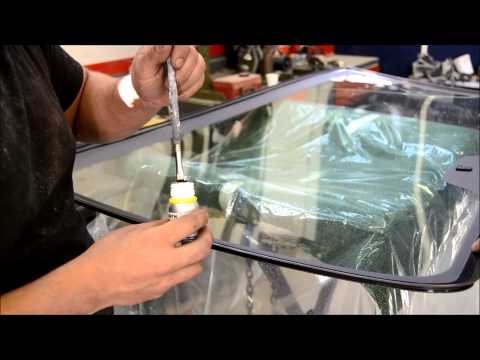
Fiat Panda
(2012-2026 /
319, MK 3)
Replacing the windscreen is a delicate and dangerous operation. Use appropriate hand and eye protection. With a sturdy plastic tool, begin removing t…
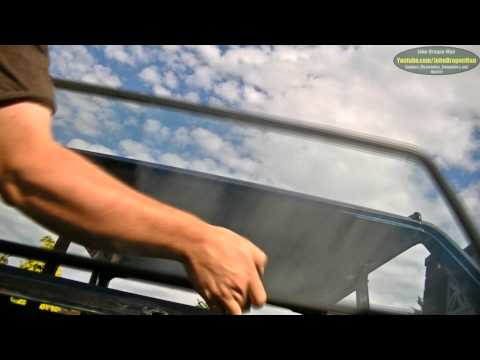
Fiat Panda
(1980-2003 /
141, MK 1)
Do you need to replace the windscreen on your car? Here’s how to proceed with the removal of the windscreen from a Fiat Panda (old model). First, ope…

Fiat Panda
(2012-2026 /
319, MK 3)
The very popular Fiat Panda, as shown in the attached tutorial video, is subject to scheduled maintenance, like any other vehicle, and therefore requ…
Other guides you may be interested in
|
How to Bleed the Clutch on a Renault Clio?
To bleed the clutch on a Renault Clio, open the bonnet to access the components located in the engine bay: here, you will need to undo the screws that secure the battery in its housing, the intake manifold, and the coolant reservoir. This will allow you to locate the pipe through which the brake fluid flows: by inserting the other end of the pipe into a container, you can press the clutch pedal to expel all the fluid until it fills the container. by ScegliAuto More videos
|

|
For advertising on this site Write to info@scegliauto.com
ScegliAuto is not responsible for any inaccuracy of the data in the lists. To report any inaccuracy or your business (if you own the business in question), please write to info@scegliauto.com
Number of seconds to generate the page: 0.378
(c) ScegliAuto 2026 - info@scegliauto.com - Privacy policy VAT number: IT01247470535 |
