
|
Do it yourself
| |||
| ||||


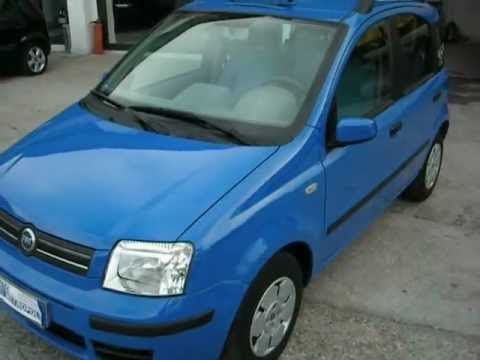
How to replace the old worn out carpet on the Fiat Panda
Model: Fiat Panda
MK 1, 141
- Years 1980-2003
Let's see how to replace the old worn-out carpet on the Fiat Panda 141. It's a job for everyone. Just have a little patience. We bring the seat forward and press the two tabs that block the seat on the rails. We take out the seat from the back. We unscrew the 4 Allen screws that block the rear seat. We unscrew the moldings that block the carpet on both sides. Remove the screws that block the central tunnel and slide it off the gearbox rod. We also remove the interlocking clips that hold the carpet in place. We extract the protective plastic and unscrew the bolts of the belts. Let's give it a good clean. It's time for new carpeting. The complete carpet can be found on all e-commerce platforms, already cut and shaped. For example, on Amazon the one for the Panda 750 Young 1000 costs 57.86 euros, shipping included. All that remains is to place it carefully on the floor and replace all the clips and screws, including the central tunnel and the seat belts. We put the rear bench and the front seats back in place. Job done.
Posted on 6 November 2022 by ScegliAuto
Video tutorial
Related tutorials
Fiat Panda
(2003-2012 /
169, MK 2)
To be able to remove the rear seats of the Fiat Panda you must first remove the carpet that covers the boot and loosen the four bolts that it previou…

Fiat Panda
(2003-2012 /
169, MK 2)
If you are planning to replace the rear windshield wiper of your Fiat Panda second series by yourself, just read the following guide carefully and ap…
Fiat Panda
(2003-2012 /
169, MK 2)
In this video tutorial we will see how to disassemble and replace the fuel pump of a Fiat Panda 1.2 Benzina. First of all, let's remove the rear seat…
Other guides you may be interested in
|
Frequently Asked QuestionsHow to Remove the Rear Bumper on the Ford Fiesta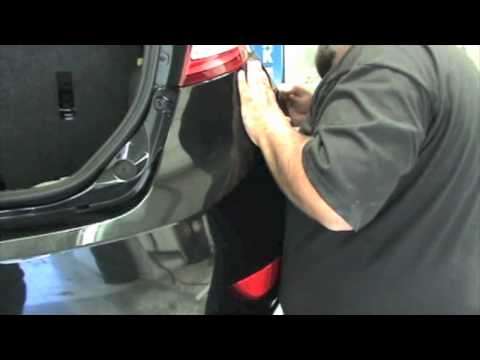
The preliminary operation is to detach the rear wheel arch from the bumper to access the screws underneath that secure the bumper (the wheel arch detaches by extracting the two plastic screws with a lever). Now unscrew all the screws around the perimeter of the bumper (you can see them by opening the rear hatch) and now you can detach the plastic from the bodywork by gently pulling it outwards: during this operation, be careful not to break the locking pins. Once you have extracted and replaced the bumper, you can reposition it and secure it by following the same operations done previously. by ScegliAuto More videos
|
|
For advertising on this site Write to info@scegliauto.com
ScegliAuto is not responsible for any inaccuracy of the data in the lists. To report any inaccuracy or your business (if you own the business in question), please write to info@scegliauto.com
Number of seconds to generate the page: 0.059
(c) ScegliAuto 2026 - info@scegliauto.com - Privacy policy VAT number: IT01247470535 |