
|
Do it yourself
| |||
| ||||


Fiat Punto - Video tutorial
Model: Fiat Punto
Punto EVO, Grandepunto , MK 3, 199
- Years 2005-2018 To replace the rear light bulb it is necessary to remove the entire light assembly. The screws are accessible on the side of the post. After removing the screws with a screwdriver, remove the light by removing the connector. Once the light has been removed, remove the two screws to access the lamp holders. Carefully remove the cover and replace the defective bulb by pressing it lightly and turning it anticlockwise until it releases. Put the new bulb back using one with the same characteristics. Refit the screws of the lamp holders and reposition the lamp unit in the housing by connecting the relative connector. Carefully tighten the screws.
Posted on 25 June 2023 by ScegliAuto
 Rear light bulb replacement
Fiat Punto (1999-2011 / 188, MK 2) This video shows us how to remove and replace the rear light bulb. First of all, let's get the key supplied as standard and placed in the spare wheel  Replace the rear fog light bulb on the Fiat Grande Punto
Fiat Punto (2005-2018 / Punto EVO, Grandepunto , MK 3, 199) In today's video tutorial we will see the steps on how to remove and replace the rear fog light bulb on the Fiat Grande Punto, but also on the Punto  Replacing the rear light bulb
Fiat Punto (1999-2011 / 188, MK 2) In this video it is possible to observe the procedure for replacing the rear light bulb of a Fiat Punto. If the yellow light bulb on the steering whe Other guides that may interest you
|
Frequently Asked QuestionsHow to set the time in the Citroen DS3?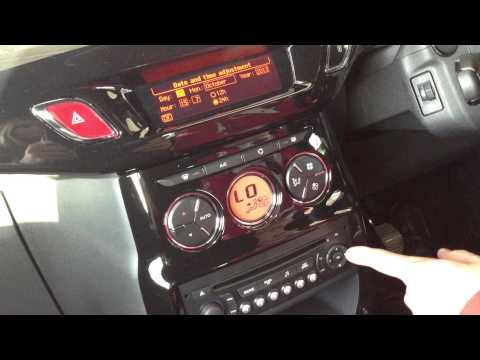
In this tutorial we can see how to set the time in the Citroen DS3, an extremely simple and fast operation, to be carried out for example after being left with the battery on the ground or following the transition to winter and summer time. First of all, turn on the instrument panel, then press the "Menu" button on the center console and enter the settings section. Then select "Display configuration", then "Date and time configuration" and proceed with the time change using the same keys. Once finished, we select "OK" at the bottom left. by ScegliAuto More videos
|
|
For advertising on this site Write to info@scegliauto.com
ScegliAuto is not responsible for any inaccuracy of the data in the lists. To report any inaccuracy or your business (if you own the business in question), please write to info@scegliauto.com
Number of seconds to generate the page: 0.052
(c) ScegliAuto 2024 - info@scegliauto.com - Privacy Policy VAT number: IT01247470535 |