
|
Do it yourself
| |||
| ||||


Replacing the Valve Cover Gasket
Model: Ford Focus
MK 1
- Years:
1998, 1999, 2000, 2001, 2002, 2003, 2004
This video is currently unavailable
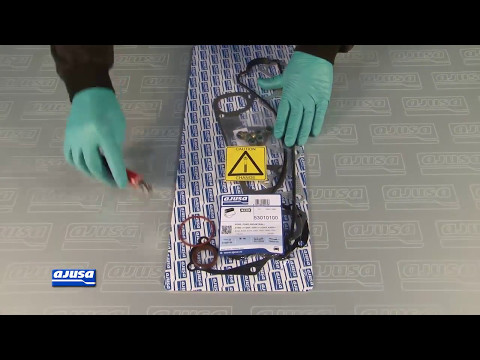
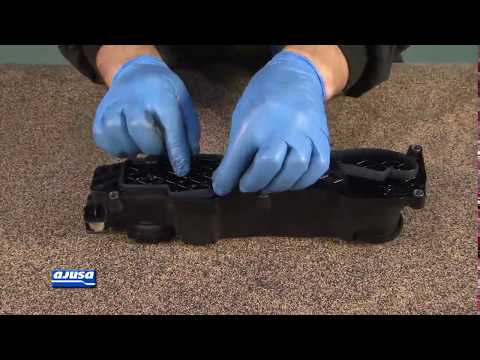
In this video, you will replace the gasket and internal brackets of the valve cover on a Ford Focus. Disconnect the throttle valves and cruise control cables using a small flathead screwdriver to release the red and grey clips. After removing the retaining bolt, extract the four spark plugs one at a time. Once you have lifted and set aside the entire spark plug harness with its cables, you will need to free the valve cover from any obstacles preventing its removal. It is advisable to also remove each spark plug. At this point, using a ratchet and an extension, you can undo all the bolts securing the valve cover (two of which are located in the centre). Once the cover is lifted, proceed to clean the spark plug wells. Clean the spark plugs if necessary. Now take the valve cover and, using a flathead screwdriver, carefully remove the two internal brackets and the outer perimeter gasket without damaging the plastic. After replacing these three pieces with new ones, proceed to clean the inside of the wells. Once the cleaning and replacements are done, reassemble everything as before by reversing the disassembly steps.
Updated on 9 February 2026 by ScegliAuto
Related tutorials
Ford Focus
(2004-2011 /
MK 2, Focus 2)
In today's video, you will see instructions for removing and replacing the rocker cover gasket on a second-generation Ford Focus 1.6 TDCi. First, ope…
Ford Focus
(1998-2004 /
MK 1)
Once you have removed the rocker cover and taken off the old gasket, clean both the gasket seat under the cover and the contact surface on the cylind…
Ford Focus
(2004-2011 /
MK 2, Focus 2)
It is essential, before installing the new gasket, to clean the seating area thoroughly, both on the cover side and the head side; in this particular…
Other guides you may be interested in
|
How to Remove the Rear Seat of a Hyundai Tucson?
To remove the rear seat of a Hyundai Tucson, follow these steps. Start by moving the front seats to their most forward position to gain space. Next, locate the release lever on the underside of the rear seat, near the floor. Press this lever down while pulling the seat upwards to unlock it from the anchor pins. Once unlocked, tilt the seat upwards and forwards to remove it from its position. Repeat this process for both sides of the rear seat. Be careful of any electrical cables or components that may be connected to the seat during removal. Once the rear seat is removed, the disassembly is complete. by ScegliAuto More videos
|
|
For advertising on this site Write to info@scegliauto.com
ScegliAuto is not responsible for any inaccuracy of the data in the lists. To report any inaccuracy or your business (if you own the business in question), please write to info@scegliauto.com
Number of seconds to generate the page: 0.022
(c) ScegliAuto 2026 - info@scegliauto.com - Privacy policy VAT number: IT01247470535 |
