
|
Do it yourself
| |||
| ||||


How to Remove the Front Headlamp and Replace the Dipped Beam in the Ford Fiesta
Model: Ford Fiesta
Fiesta 5, MK 5, MK V
- Years 2002-2008
Today, learn how to replace the front headlamp in the Ford Fiesta from 2002-2008. It is recommended to work with a cold engine and ensure the lights have been off for at least an hour to avoid unpleasant burns. Start by obtaining a Torx T25/30 screwdriver. Open the bonnet and remove the plastic cover by extracting the clips. Now, remove the three Torx screws that secure the headlamp and then pull it from its housing, remembering to disconnect the power supply. Remove the rubber cover, disconnect the wires, release the clips, and extract the burnt-out bulb. Proceed in reverse to refit the headlamp. Check the correct positioning of the beam and you're done.
Updated on 1 May 2026 by ScegliAuto
Video tutorial
Related tutorials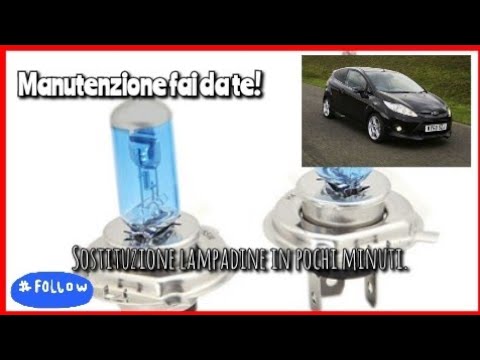
Ford Fiesta
(2008-2017 /
Fiesta 6, MK 6, MK VI)
In this short video tutorial, learn how to replace a bulb on a Ford Fiesta MK6. Start by opening the bonnet and remove the two screws and the clip th…

Ford Fiesta
(2017-2023 /
MK 7, MK VII, Fiesta 7)
To replace the front headlight on the Ford Fiesta, open the bonnet and loosen the screws located at the top of the headlight on its supports. Once th…

Ford Fiesta
(2017-2023 /
MK 7, MK VII, Fiesta 7)
To install the LED bulb in the front headlamp of the Ford Fiesta, open the bonnet and loosen the two screws securing the headlamp at the top. This wi…
Other guides you may be interested in
|
How to Replace the Diesel Filter of the Peugeot 3008 1.5 BlueHDI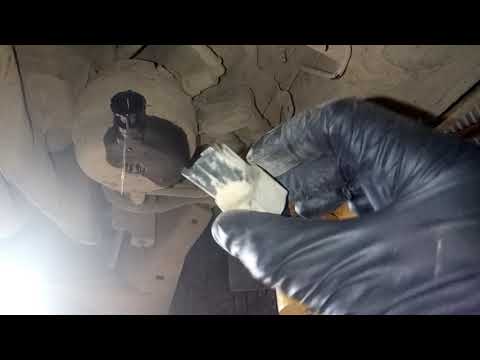
Briefly, we will see the main instructions for dismantling and replacing the diesel filter of the Peugeot 3008 1.5 BlueHDI. First, locate the diesel filter under the vehicle, so it will be necessary to lift it; then disconnect the electrical connector and the fuel lines from the filter, unscrewing the side screws to remove the cartridge, as shown in the video. At this point, replace the diesel filter with the new one, as well as with the original one; then reconnect the pipes and the electrical connector, following the video tutorial to the end! by ScegliAuto More videos
|
|
For advertising on this site Write to info@scegliauto.com
ScegliAuto is not responsible for any inaccuracy of the data in the lists. To report any inaccuracy or your business (if you own the business in question), please write to info@scegliauto.com
Number of seconds to generate the page: 0.128
(c) ScegliAuto 2026 - info@scegliauto.com - Privacy policy VAT number: IT01247470535 |
