
|
Do it yourself
| |||
| ||||


Instructions for Installing LED Bulbs
Model: Ford Mustang
S197, MK 5
- Years 2005-2014
Replacing the interior lights and perhaps the number plate lights with LED bulbs will give the vehicle a more modern and appealing look; specific kits designed by manufacturers based on the car model are generally available: on some cars, there may be issues with the CAN bus due to the different electrical resistance values between traditional bulbs and LEDs. Start with the interior light by uncliping it from its housing, accessing from the inside, remove the lens of the spotlight and then the original bulb, inserting the LED bulb; move on to the courtesy lights on the door panel by removing the entire bulb holder and then replacing the bulb; finally, proceed to the number plate lights by first unclipping the plastic cover and then unscrewing the fixing screws of the bulb holder to carry out the replacement.
Updated on 15 February 2026 by ScegliAuto
Video tutorial
Related tutorials
Ford Mustang
(2005-2014 /
S197, MK 5)
In this video we see how to change the bulb of a Ford Mustang MK5: we will access the bulbs from under the hood, but there is not enough space due to…
Ford Mustang
(2005-2014 /
S197, MK 5)
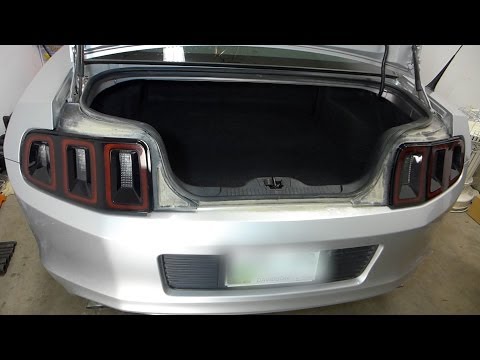
To remove the rear bumper, first remove the plastic cover inside the boot to access the fixing pins of the lights that need to be removed, as well as…
Ford Mustang
(2015-2023 /
MK 6, S550)
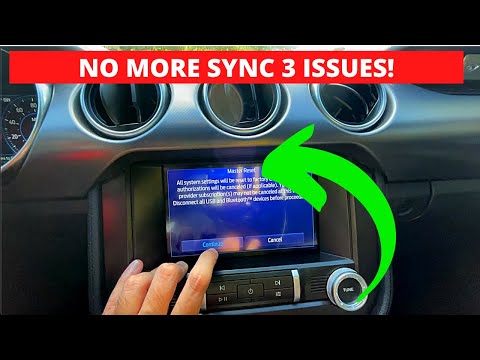
This guide provides instructions to reset the Sync 3 multimedia system in the Ford Mustang, as well as in other models from the manufacturer. First, …
Other guides you may be interested in |
How to Open the Bonnet on the Lancia Y
To open the bonnet on this vehicle, follow these simple instructions: first, open the driver's door and locate the lever positioned just below the dashboard, marked with an image of the vehicle with the bonnet open. Pull this lever towards you until you hear a "click" indicating the bonnet is released. Next, exit the cabin and stand in front of the bonnet to disengage the safety catch and complete the opening. To do this, slightly lift the bonnet, locate the yellow lever underneath, and pull it to the left to fully release and open the bonnet. by ScegliAuto More videos
|
|
For advertising on this site Write to info@scegliauto.com
ScegliAuto is not responsible for any inaccuracy of the data in the lists. To report any inaccuracy or your business (if you own the business in question), please write to info@scegliauto.com
Number of seconds to generate the page: 0.377
(c) ScegliAuto 2026 - info@scegliauto.com - Privacy policy VAT number: IT01247470535 |
