
|
Do it yourself
| |||
| ||||


How to replace a disc brake rotor
Model: Honda Accord
MK 4
- Years 1990-1993
This video illustrates the challenging procedure to fix a malfunctioning disc brake on a Honda Accord. Start by lifting the car with a pair of jacks, then remove the wheel. First, you need to remove the caliper: unscrew the bolt that holds it in place and clean it. Also, unscrew the front bolt of the caliper, polish it with a grinder, and then reattach it. Remove the caliper, take out the brake pad, and clean the caliper's rotation. Once the bolts are removed, slide the caliper off the disc; avoid disconnecting it from the brake lines, so hang it up with a hook. With the help of a power tool and small hammer taps, detach the arm with the disc still attached. Position everything on a vice and use two long bolts, a power tool, and a hammer to remove the disc from the arm. With a small grinder, clean the disc seat and then lubricate it with some grease. Using the power tool, remove the four bolts of the rotor and take out the old disc. Clean and grease the rotor as well, then, using the power tool, assemble it with the new disc. Mount the rotor and disc onto the arm and finally reposition everything back to its original position.
Updated on 4 February 2026 by ScegliAuto
Video tutorial
Related tutorials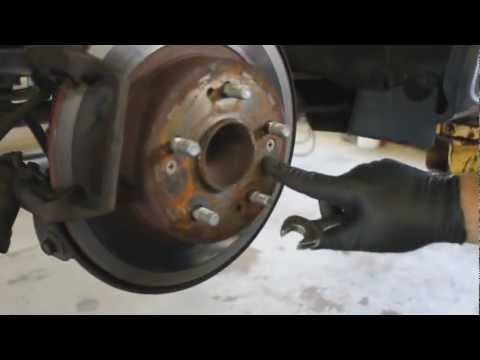
Honda Accord
(2008-2013 /
MK 8)
The brake discs of a car are essential for the safety of every driver. First, lift the car with a jack and remove the wheel, unscrewing the wheel bol…
Honda Accord
(2002-2007 /
MK 7)
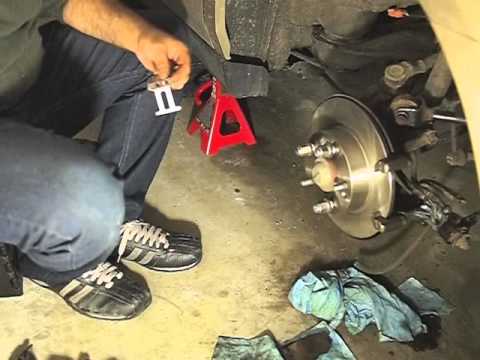
Lift the vehicle on suitable car stands and remove the rear wheel; then disconnect the handbrake cable from the brake calliper and the oil pipe, ensu…
Honda Accord
(2008-2013 /
MK 8)
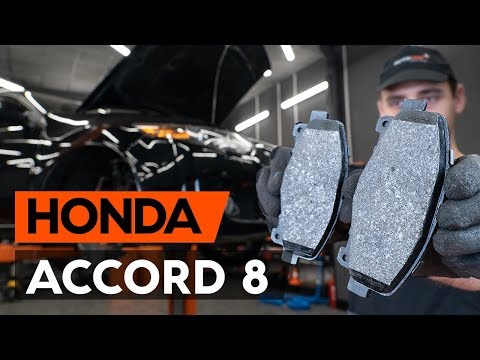
In this video tutorial, you can see how to replace the front brake pads on a Honda Accord 8 by following some essential steps: first, purchase new br…
Other guides you may be interested in
|
How to reset the tyre pressure warning light on a Hyundai Tucson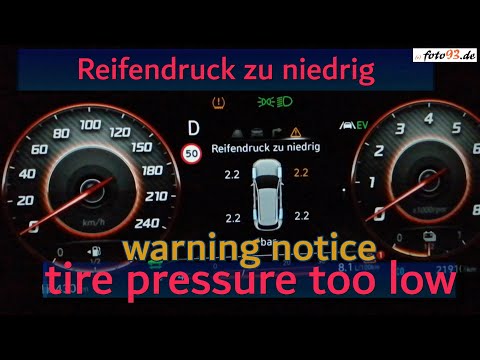
Below are the instructions to reset the tyre pressure warning light (TPMS) on a Hyundai Tucson. First, get into the vehicle and turn on the instrument cluster; then navigate to the vehicle settings until you reach the tyre pressure monitor, identifying the tyre with incorrect pressure. At this point, restore all tyre pressures according to the specifications indicated on the label; this will reset the TPMS and the warning light will be cleared from the instrument cluster! by ScegliAuto More videos
|
|
For advertising on this site Write to info@scegliauto.com
ScegliAuto is not responsible for any inaccuracy of the data in the lists. To report any inaccuracy or your business (if you own the business in question), please write to info@scegliauto.com
Number of seconds to generate the page: 0.303
(c) ScegliAuto 2026 - info@scegliauto.com - Privacy policy VAT number: IT01247470535 |
