
|
Do it yourself
| |||
| ||||


Installation of Portable Satellite Navigator
Model: Honda CR-V
MK 3
- Years 2007-2012
Detach the cap located at the centre of the dashboard, just above the air vents of the central console; then detach the air vents and the connector associated with them. Remove the plastic trim surrounding the instrument cluster, unscrew the fixing screws of the instrument cluster, and remove it. Finally, remove the plastic cover located just below the steering wheel. Apply some rubber protective tape around the converter and the resistance of the power cable for the navigator; make the electrical connections and route the cable to bring the power connector to the centre of the dashboard. Use the appropriate drilling template to mark the position of the holes to be drilled on the air vent support to fix the navigator's support bracket. Connect the support socket to that of the power cable and reassemble everything that was previously removed. Finally, attach the navigator to its support.
Updated on 5 February 2026 by ScegliAuto
Video tutorial
Related tutorials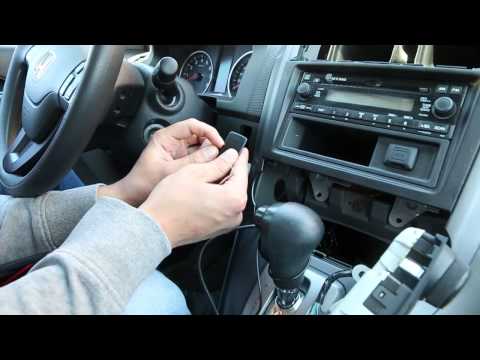
Honda CR-V
(2007-2012 /
MK 3)
Installing a Bluetooth device adapter is straightforward and does not require special skills or tools. You must first remove the original radio to co…

Honda CR-V
(2002-2007 /
MK 2)
This video illustrates how to correctly install a rubber boot mat for your vehicle. If you are concerned about dirtying or damaging the carpet in you…
Honda CR-V
(2002-2007 /
MK 2)
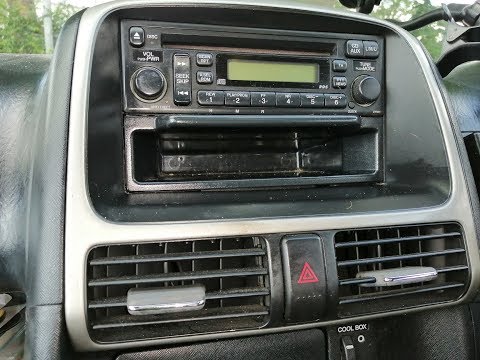
In today's video, see how to replace the radio in the Honda CR-V. Unscrew the two screws holding the plastic trim in place. You can now unclip it and…
Other guides you may be interested in
|
How to Connect the Cables to the Battery of the Citroen Xsara Picasso?
In this tutorial, you will see how to connect the cables to the battery of the Citroen Xsara Picasso, useful if you need to recharge it or perform an emergency start. First, ensure the key is not inserted, then open the bonnet and move to the front of the left headlamp. Next, locate the bolt just behind the filter box and connect the positive terminal clamp to it. Now you can connect the negative terminal to any point on the chassis, such as the indicated point. Once the operation is complete, ensure you disconnect the negative first and then the positive. by ScegliAuto More videos
|

|
For advertising on this site Write to info@scegliauto.com
ScegliAuto is not responsible for any inaccuracy of the data in the lists. To report any inaccuracy or your business (if you own the business in question), please write to info@scegliauto.com
Number of seconds to generate the page: 0.136
(c) ScegliAuto 2026 - info@scegliauto.com - Privacy policy VAT number: IT01247470535 |
