
|
Do it yourself
| |||
| ||||



Installation of Additional Armrest
Model: Honda Cr Z
MK 1
- Years:
2010, 2011, 2012, 2013, 2014, 2015, 2016
Video tutorial
Ensure you have the anti-theft code for the car radio. Disconnect the negative cable from the battery. Remove the lower centre of the tunnel. Insert your hand into the opening of the lower centre cover and push down on the centre of the trim to unlock the three clips. Push down the ring to release the two retainers. Rotate the gear lever knob counterclockwise and remove it from the gear lever. Push down the ring. Using a 17 mm socket, remove the locking nut. Using a trim removal tool (six clips and two fixing tabs). With the handbrake pulled, shift the gear lever to the "D" position. Remove the cup holder trim (five clips). Attach tape to the right of the side trim of the console and the left console trim as shown. Remove the three self-tapping screws that secure the right side trim of the console. Pull the console trim outwards to free the four clips and four hooks. Remove the left side of the console in the same way. Locate the slot on the right side of the rear console. Using a flathead screwdriver wrapped in tape, lever to remove the rear console (seven fastening screws, four clips). Take care not to damage the central console. Attach the armrest bracket to the vehicle bracket. Measure and cut a 10 mm slot in the floor carpet; the armrest bracket holes align with the vehicle wiring underneath. Take care not to damage the vehicle.
Updated on 6 February 2026 by ScegliAuto
Related tutorials
Mini
(2007-2014 /
R57, R56, R55)
Having more space to store items inside the vehicle is always very useful. To add new space, you need to obtain the storage kit that also serves as a…

Vauxhall Corsa
(2014-2019 /
Corsa E)
As shown in the video, place the base of the lower armrest and secure it with screws. On this base, there are rails where the central part of the arm…
Ford Fiesta
(2008-2017 /
Fiesta 6, MK VI, MK 6)
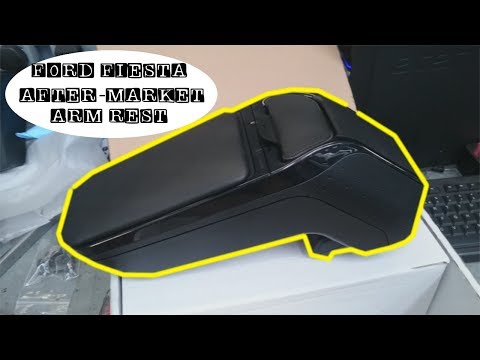
Let's see how to install the armrest storage compartment on the centre console of a Ford Fiesta. Position the armrest horizontally, then, using a scr…
Other guides you may be interested in
|
How to Remove the Rear Seat of a Hyundai Tucson?
To remove the rear seat of a Hyundai Tucson, follow these steps. Start by moving the front seats to their most forward position to gain space. Next, locate the release lever on the underside of the rear seat, near the floor. Press this lever down while pulling the seat upwards to unlock it from the anchor pins. Once unlocked, tilt the seat upwards and forwards to remove it from its position. Repeat this process for both sides of the rear seat. Be careful of any electrical cables or components that may be connected to the seat during removal. Once the rear seat is removed, the disassembly is complete. by ScegliAuto More videos
|
|
For advertising on this site Write to info@scegliauto.com
ScegliAuto is not responsible for any inaccuracy of the data in the lists. To report any inaccuracy or your business (if you own the business in question), please write to info@scegliauto.com
Number of seconds to generate the page: 0.103
(c) ScegliAuto 2026 - info@scegliauto.com - Privacy policy VAT number: IT01247470535 |
