
|
Do it yourself
| |||
| ||||


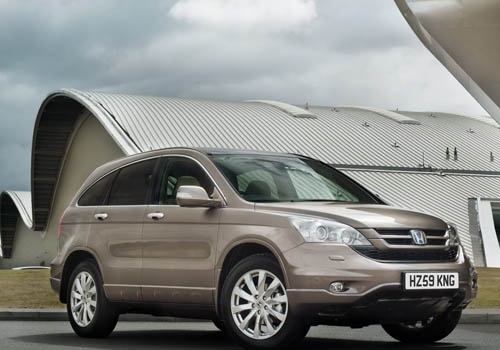
Windscreen Wiper Motor Replacement
Model: Honda CR-V
MK 3
- Years:
2007, 2008, 2009, 2010, 2011, 2012
Video tutorial
Remove the bonnet, and also disassemble the wipers by removing the bolts at their base. Do not confuse the passenger side with the driver side, remove the clip that secures the side plastic and also the clips that secure the plastic above the windscreen; before removing this entire plastic strip, be careful to disconnect the cable connected to it. Now disconnect the connectors attached to the wiper motor, unscrew the necessary bolts and remove it; if it is more convenient, you can also remove the metal panel in front of the motor. Now you can remove the 3 bolts at the back and the main central bolt to detach the motor from the levers. Now, following the steps in reverse, you can reassemble everything.
Updated on 23 February 2026 by ScegliAuto
Related tutorials
Honda CR-V
(2007-2012 /
MK 3)
Is water no longer coming from the wipers? Learn how to remove the pump of the windscreen washer reservoir. Lift the front bonnet and remove the bump…
Honda CR-V
(1995-2001 /
MK 1)
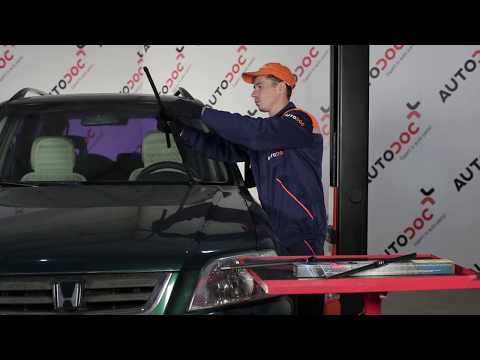
The video shows how to replace the front wiper blades on a Honda CR-V first series. This is a simple task that can be done in a few minutes without v…

Honda CR-V
(2007-2012 /
MK 3)
After opening the bonnet, remove it for easier access; now remove the bolts that secure the wipers, this way, by making some movements to exploit the…
Other guides you may be interested in |
How to Reset the Tire Pressure Light on a MG ZS?
On the instrument cluster of the MG ZS, the tire pressure light that appears can be reset by inflating the tires to the correct pressure: this value will be indicated on the sticker attached to the driver's door pillar. Once the tires have been properly inflated, you can turn on the instrument cluster and navigate through the menu until you find the option that indicates tire pressure: if this screen shows the new values, the light will turn off; otherwise, you will need to drive for a few miles so that the sensors can read the new values and turn off the light afterward. by ScegliAuto More videos
|
|
For advertising on this site Write to info@scegliauto.com
ScegliAuto is not responsible for any inaccuracy of the data in the lists. To report any inaccuracy or your business (if you own the business in question), please write to info@scegliauto.com
Number of seconds to generate the page: 0.045
(c) ScegliAuto 2026 - info@scegliauto.com - Privacy policy VAT number: IT01247470535 |
