
|
Do it yourself
| |||
| ||||



How to Replace the Cabin Air Filter in a Hyundai Kona
Model: Hyundai Kona
MK 1
- Years:
2017, 2018, 2019, 2020, 2021, 2022, 2023
Video tutorial
Let's see how to replace the cabin air filter in a Hyundai Kona: the filter is located behind the glove compartment, on the passenger side towards the left guides. Start by emptying the glove compartment, disconnect the damper on the right side of the compartment, finding the damper cylinder that holds it up. Disconnect it from its seat by pressing or gently prying it off. Grab the compartment, pull it towards you, and then lower it with a decisive movement to allow the stops to clear their catches. This way, the compartment will completely flip down, providing access. Behind the lowered compartment, you will see a rectangular panel with two clips on the right side; press them together and open them. Remove the old filter, clean the compartment well from dust and debris, and then place the new clean filter in position, ensuring that the "air flow" label is facing downwards. Close the panel and put the glove box back in place.
Posted on 15 August 2026 by ScegliAuto
Related tutorials
Hyundai Kona
(2017-2023 /
MK 1)
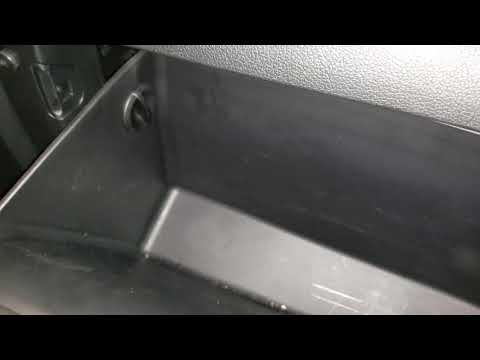
These brief and simple steps will show us how to disassemble and replace the cabin or pollen air filter of the Hyundai Kona. First, let's open the fr…
Hyundai Kona
(2017-2023 /
MK 1)
To remove the cabin air filter from the Hyundai Kona, first remove the glove compartment located in the dashboard. Open the glove compartment and unc…

Hyundai Kona
(2023-2026 /
MK 2)
In today's video tutorial, we will see how to replace the battery of the key fob of a Hyundai Kona in a few simple steps, a latest generation model p…
Other guides you may be interested in
|
How to Change the Time on the Peugeot 208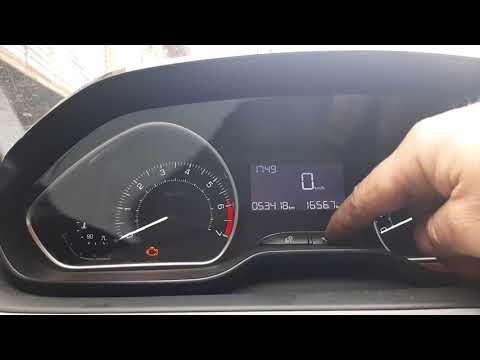
Today's guide will show you how to set the clock on the Peugeot 208's onboard computer, following the instructions below. First, get in the car and turn on the instrument panel; then press and hold the settings button on the panel for a few seconds until the time starts to flash, as shown in the video. At this point, press the left button to correctly set the time, adjusting the hour first and then the minutes; exit the onboard computer menu to save all the changes made! by ScegliAuto More videos
|
|
For advertising on this site Write to info@scegliauto.com
ScegliAuto is not responsible for any inaccuracy of the data in the lists. To report any inaccuracy or your business (if you own the business in question), please write to info@scegliauto.com
Number of seconds to generate the page: 0.091
(c) ScegliAuto 2026 - info@scegliauto.com - Privacy policy VAT number: IT01247470535 |
