
|
Do it yourself
| |||
| ||||


Hyundai Santa Fe - Video tutorial
Model: Hyundai Santa Fe
MK 1
- Years 2000-2006 Loosen the wheel nuts and lift the car to secure it. Unscrew the bolts and remove the wheel. Unscrew and extract the arm retaining pins from the suspension with a size 16 wrench and push them out. Use the deoxidizer spray to facilitate the operation. Also disconnect the steering linkage. Using a spanner and ratchet remove the suspension bolts and move the shock absorber away. Remove the protective cover in the engine compartment with a 16 wrench unscrew the three bolts at the head of the suspension, carry out the same operation on the other shock absorber after removing the expansion tank. Remove the entire suspension assembly and clean from encrustations with a wire brush. Using the special equipment, stretch the spring to allow the exhausted shock absorber to be extracted and replaced with a new one. Also replace the spring and the rubber boot. Refit the suspension on the car proceeding in reverse order.
Posted on 16 July 2023 by ScegliAuto
This video is currently unavailable
 Front shock absorber disassembly instructions
Hyundai Santa Fe (2006-2012 / MK 2) To replace the front shock absorber, lift the car on a lift and remove the front wheel; then disconnect the connecting rod that connects the shock ab  How to remove the front shock absorber on a Hyundai Santa Fe
Hyundai Santa Fe (2006-2012 / MK 2) Let's see how to remove the front shock absorber on a Hyundai Santa Fe? The first step to follow: we loosen the pins of the rim, lift the car on a co  Rear shock absorber replacement
Hyundai Santa Fe (2000-2006 / MK 1) Replacing the rear shock absorbers is quite simple to perform mainly because the spring and damper are separate; once the car has been raised on spec Other guides that may interest you
|
How to set the time in the Citroen DS3?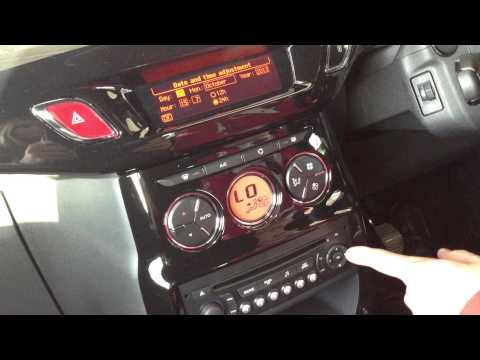
In this tutorial we can see how to set the time in the Citroen DS3, an extremely simple and fast operation, to be carried out for example after being left with the battery on the ground or following the transition to winter and summer time. First of all, turn on the instrument panel, then press the "Menu" button on the center console and enter the settings section. Then select "Display configuration", then "Date and time configuration" and proceed with the time change using the same keys. Once finished, we select "OK" at the bottom left. by ScegliAuto More videos
|
|
For advertising on this site Write to info@scegliauto.com
ScegliAuto is not responsible for any inaccuracy of the data in the lists. To report any inaccuracy or your business (if you own the business in question), please write to info@scegliauto.com
Number of seconds to generate the page: 0.032
(c) ScegliAuto 2024 - info@scegliauto.com - Privacy Policy VAT number: IT01247470535 |