
|
Do it yourself
| |||
| ||||


Hyundai Elantra - Video tutorial
Model: Hyundai Elantra
MK 6
- Years 2015-2020 In order to install the xenon bulbs with the relative ignition control units, it is necessary to remove the headlights in order to accommodate the relative wiring in the best possible way. Then proceed with the removal of the headlights: open the front hood and unscrew the fixing pins of the headlight; pull the headlight forward by lifting it slightly. Once the headlight has been placed on the bench, remove the cap from the bulb holder and extract the original bulb; make a hole in the center of the cap using an umbrella cutter in order to pass the cables of the new bulb and house the relative rubber grommet. Then insert the bulb taking care not to touch the bulb with your fingers; connect the power cables to the original socket and close the cap. Before reassembling the headlights, install the power supply wiring by carefully positioning it in the engine compartment, fix the control units near the headlight (inside the mudguard), install the headlight itself and complete the electrical connections.
Posted on 16 July 2023 by ScegliAuto
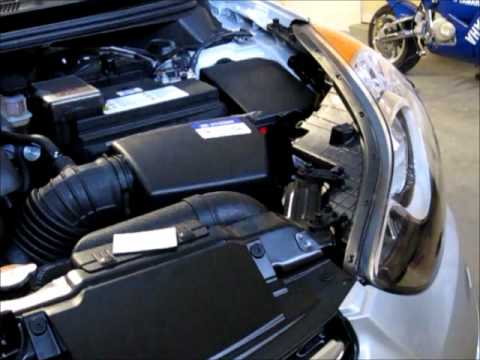 Aftermarket Xenon kit installation
Hyundai Elantra (2015-2020 / MK 6) In order to carry out the installation it is necessary to remove the headlights: then disconnect the socket connected to it and proceed with the remo  Replacing torpedo bulbs with led ones
Hyundai Elantra (2015-2020 / MK 6) Open the eyeglass compartment of the front passenger compartment light ceiling and use a plastic lever to unhook the bulb cover. Then extract the ori 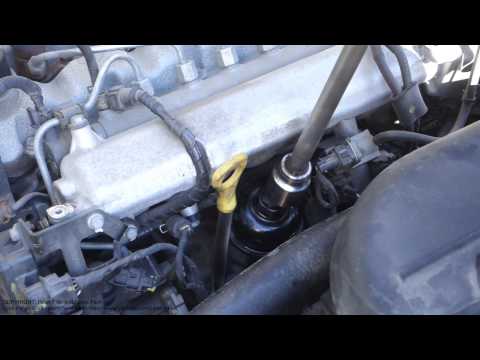 Engine oil filter replacement
Hyundai Elantra (2006-2010 / HD, MK 4) In order to access the engine oil filter seat, it is first necessary to remove the plastic cover on the engine itself: the filter is located right ne Other guides that may interest you
|
How to set the time in the Citroen DS3?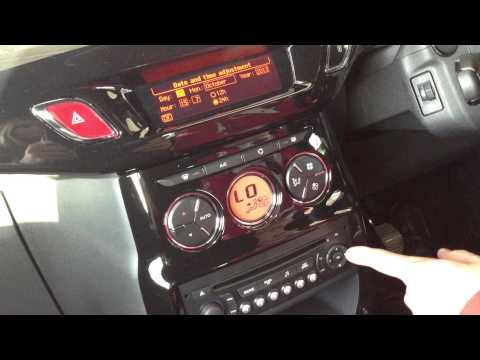
In this tutorial we can see how to set the time in the Citroen DS3, an extremely simple and fast operation, to be carried out for example after being left with the battery on the ground or following the transition to winter and summer time. First of all, turn on the instrument panel, then press the "Menu" button on the center console and enter the settings section. Then select "Display configuration", then "Date and time configuration" and proceed with the time change using the same keys. Once finished, we select "OK" at the bottom left. by ScegliAuto More videos
|
|
For advertising on this site Write to info@scegliauto.com
ScegliAuto is not responsible for any inaccuracy of the data in the lists. To report any inaccuracy or your business (if you own the business in question), please write to info@scegliauto.com
Number of seconds to generate the page: 0.036
(c) ScegliAuto 2024 - info@scegliauto.com - Privacy Policy VAT number: IT01247470535 |