
|
Do it yourself
| |||
| ||||


Iveco Eurocargo Fuses
Model: IVECO Eurocargo
MK 1
- Years 2002-2008
How do you replace the fuses on an Iveco? Open the door and see how to disassemble the parts. Open the glove compartment, unscrew the mounting screws, and remove the cover in the glove compartment on the dashboard using a plastic lever. Use needle-nose pliers to pull out the damaged fuses located in the compartment. Once this is done, insert the new fuses into the designated slots in the compartment. Close the fuse inspection box with the cover and screw in the screws. Finally, test the correct functioning of the vehicle by turning on the instrument panel. Check the various electrical systems.
Updated on 4 May 2026 by ScegliAuto
Video tutorial
Related tutorials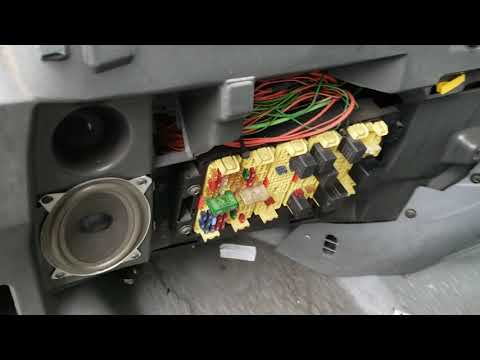
IVECO Eurocargo
(2002-2008 /
MK 1)
In this short video, you will see where to find the internal fuse box on an Iveco Daily and Eurocargo. First, get inside the vehicle and remove the e…
IVECO Eurocargo
(2002-2008 /
MK 1)
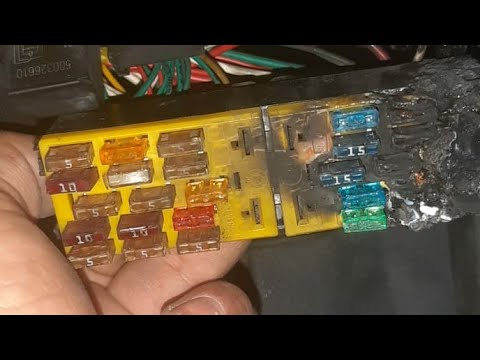
The fuses of the Iveco Eurocargo are located inside the dedicated fuse box. This is positioned within the cabin, directly beneath the steering column…

IVECO Eurocargo
(2002-2008 /
MK 1)
The display located at the centre of the Iveco Eurocargo's instrument panel represents the IBC system: Iveco Body Computer. This device allows you to…
Other guides you may be interested in
|
Frequently Asked QuestionsHow to Replace the Remote Battery for the Volvo XC40?
In this tutorial, you will see how to replace the battery in the remote for the Volvo XC40, a very simple and quick operation. For this, you will need a replacement battery of type CR2032 and possibly a small flathead screwdriver. First, remove the front cover by pressing the button on the metal ring, then locate the second button, press it as well, and remove the opposite cover. Next, open the circular cap, take out the old battery, and insert the new one in the opposite direction. Finally, reassemble everything. by ScegliAuto More videos
|
|
For advertising on this site Write to info@scegliauto.com
ScegliAuto is not responsible for any inaccuracy of the data in the lists. To report any inaccuracy or your business (if you own the business in question), please write to info@scegliauto.com
Number of seconds to generate the page: 1.047
(c) ScegliAuto 2026 - info@scegliauto.com - Privacy policy VAT number: IT01247470535 |
