
|
Do it yourself
| |||
| ||||


How to Reset the Tyre Pressure on a Jeep Grand Cherokee
Model: Jeep Grand Cherokee
WK2, MK 4
- Years 2010-2021
On the Jeep Grand Cherokee, before discussing the reset, it is essential to bring all tyres to the correct pressure. Check the recommended values on the door pillar label (driver's side) or in the manual and measure the cold pressure, inflating or deflating each tyre to the correct value. Also, check the spare wheel if present and required by the system. After adjusting the pressure, start the Jeep Grand Cherokee and drive a short distance: on many trims, the TPMS system updates automatically during driving, and the warning light will turn off after a few minutes when the control unit 'recognises' the new values. If the light remains on, turn off the ignition, wait a few seconds, and restart, then check again that no tyre is still out of value (even slightly). If your Jeep Grand Cherokee has a dedicated option in the settings menu (such as 'TPMS', 'Tyre Pressure', or 'Reset/Calibration'), perform the procedure from the menu and confirm the reset when prompted.
Posted on 5 July 2026 by ScegliAuto
This video is currently unavailable
Related tutorials
Jeep Grand Cherokee
(2010-2021 /
WK2, MK 4)
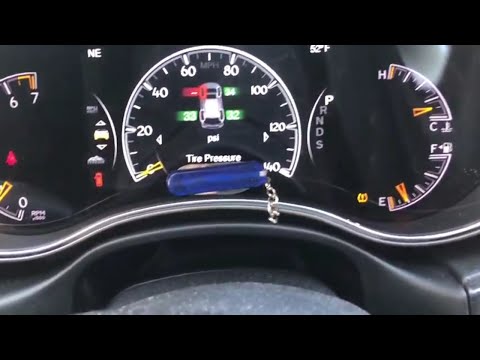
This guide provides the main instructions to reset the tyre pressure monitoring system (TPMS) light on a Jeep Grand Cherokee, as well as the Cherokee…
Jeep Grand Cherokee
(2010-2021 /
WK2, MK 4)
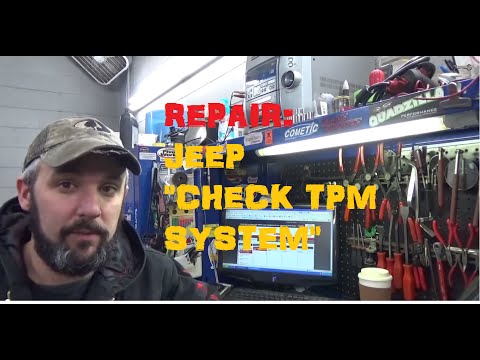
In this video tutorial, you will learn how to recalibrate the tyre monitoring system on a Jeep Grand Cherokee from 2010 to 2021. From our onboard com…
Jeep Grand Cherokee
(2004-2010 /
WK, MK 3, WH)
To reset the tyre pressure light on a Jeep Grand Cherokee, first inflate the tyres to the pressure value indicated on the sticker attached to the dri…
Other guides you may be interested in
|
How to Replace the External Wing Mirror on a Ford C MAX
In the event of a breakage, it will be necessary to replace the external wing mirror on the 2011 Ford C MAX. This operation is easily performed independently. Start by removing the internal cover of the mirror with a plastic lever. Then, use a socket wrench to remove the securing pins. Once the pins are removed, you can take off the mirror, but not before disconnecting the power connectors. Then proceed to fit the new mirror. First, connect the connectors and then secure the mirror to its housing with the pins. Refit the plastic cover and test the operation of the electric mirror using the controls. by ScegliAuto More videos
|
|
For advertising on this site Write to info@scegliauto.com
ScegliAuto is not responsible for any inaccuracy of the data in the lists. To report any inaccuracy or your business (if you own the business in question), please write to info@scegliauto.com
Number of seconds to generate the page: 0.091
(c) ScegliAuto 2026 - info@scegliauto.com - Privacy policy VAT number: IT01247470535 |
