
|
Do it yourself
| |||
| ||||


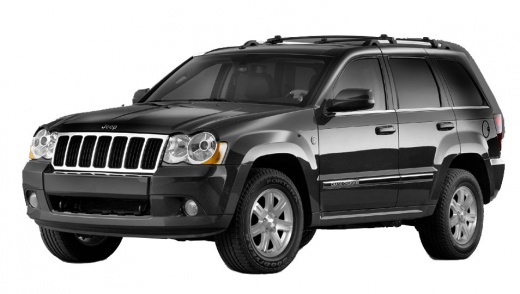
Engine Air Filter Maintenance
Model: Jeep Grand Cherokee
WH, WK, MK 3
- Years:
2004, 2005, 2006, 2007, 2008, 2009, 2010
This video is currently unavailable
This video demonstrates how to maintain the air filter of a Jeep Grand Cherokee in a few simple steps. First, unscrew the bolts securing the old filter and remove it (perform this operation with the engine off!). Second step: clean the filter thoroughly using a spray cleaner as shown in the video. Third step: allow the cleaner to work for about 10 to 20 minutes. Do not let the solution dry. Fourth step: rinse the filter using lukewarm water and a gentle stream. Check that the filter is clean (rinse again if necessary). Fifth step: dry the filter. Shake it to speed up the drying process; ensure it is completely dry. Sixth step: lubricate the filter well with a spray oil. Seventh step: allow the filter to dry (for at least an hour). Eighth and final step: refit the filter as before.
Updated on 7 February 2026 by ScegliAuto
Related tutorials
Jeep Grand Cherokee
(2010-2021 /
WK2, MK 4)
Discover the steps to remove and replace the engine air filter on the Jeep Grand Cherokee MK4 with a 3.6L V6 engine. First, open the bonnet of your c…

Jeep Grand Cherokee
(2010-2021 /
WK2, MK 4)
When the engine of your Jeep Grand Cherokee (year 2020) overheats abnormally even at low speeds, it is likely time to replace the engine air filter. …

Jeep Grand Cherokee
(2010-2021 /
WK2, MK 4)
To replace the air filter on the vehicle, follow these steps: open the bonnet and locate the air filter housing on the left side of the engine bay, t…
Other guides you may be interested in
|
How to Remove the Rear Seat of a Hyundai Tucson?
To remove the rear seat of a Hyundai Tucson, follow these steps. Start by moving the front seats to their most forward position to gain space. Next, locate the release lever on the underside of the rear seat, near the floor. Press this lever down while pulling the seat upwards to unlock it from the anchor pins. Once unlocked, tilt the seat upwards and forwards to remove it from its position. Repeat this process for both sides of the rear seat. Be careful of any electrical cables or components that may be connected to the seat during removal. Once the rear seat is removed, the disassembly is complete. by ScegliAuto More videos
|
|
For advertising on this site Write to info@scegliauto.com
ScegliAuto is not responsible for any inaccuracy of the data in the lists. To report any inaccuracy or your business (if you own the business in question), please write to info@scegliauto.com
Number of seconds to generate the page: 0.061
(c) ScegliAuto 2026 - info@scegliauto.com - Privacy policy VAT number: IT01247470535 |
