
|
Do it yourself
| |||
| ||||



How to reset the "Service" light on a Kia Niro?
Model: Kia Niro
SG2
- Years:
2021, 2022, 2023, 2024, 2025, 2026
Video tutorial
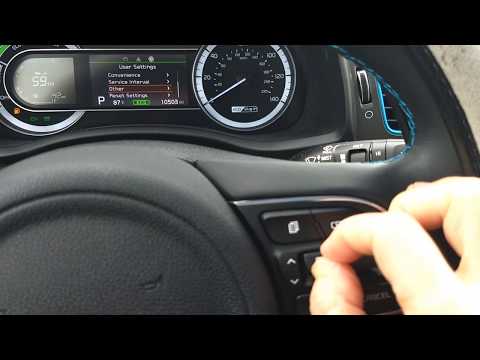
To reset the "Service" light on a Kia Niro, turn on the instrument cluster without starting the engine. Using the controls on the steering wheel, access the central display menu. Press the "Menu" button and scroll through the various options using the navigation buttons until you reach the section regarding vehicle settings or maintenance. Once in the correct menu, look for the option related to maintenance intervals. Select this entry and proceed with the reset of the service intervals. To complete the operation, hold down the confirmation button until the system notifies you that the reset has been successfully completed. At this point, the "Service" light will turn off, indicating that the system has updated the maintenance interval. This process allows the vehicle to reset the service counter, preparing it for the next scheduled check. It is crucial to perform the reset every time maintenance is carried out to ensure accurate monitoring. If the reset does not work, repeat the steps, checking that you have followed them correctly.
Updated on 25 October 2026 by ScegliAuto
Related tutorials
Kia Niro
(2021-2026 /
SG2)
To reset the "Service" light on a Kia Niro, turn on the instrument panel without starting the engine. Use the controls on the steering wheel to navig…
Kia Niro
(2016-2023 /
MK 1)
To reset the Service light on the Kia Niro, you need to turn on the instrument cluster so you can navigate through the menu using the controls on the…

Kia Niro
(2021-2026 /
SG2)
To reset the "Service" light on a Kia Niro, turn on the ignition without starting the engine and use the central onboard computer touchscreen to acce…
Other guides you may be interested in
|
How to Open the Hood of the BMW X3
Today, you will learn how to open and close the hood of the BMW X3. To perform this simple operation, lift the hood release lever located next to the door seal on the driver’s side. After pulling the lever, you will notice that the hood will lift slightly. Position yourself in front of the hood and lift it after moving the internal lever from left to right. To keep the hood secure during maintenance, use the side support rod. To close the hood, simply let it fall back into place. by ScegliAuto More videos
|
|
For advertising on this site Write to info@scegliauto.com
ScegliAuto is not responsible for any inaccuracy of the data in the lists. To report any inaccuracy or your business (if you own the business in question), please write to info@scegliauto.com
Number of seconds to generate the page: 0.006
(c) ScegliAuto 2026 - info@scegliauto.com - Privacy policy VAT number: IT01247470535 |
