
|
Do it yourself
| |||
| ||||



How to Install Cruise Control in a Kia Rio
Model: Kia Rio
MK 3, UB
- Years:
2011, 2012, 2013, 2014, 2015, 2016, 2017
Video tutorial
In this video tutorial, see how to install cruise control in a Kia Rio by following some essential steps. The first thing to do is prepare the right tools for the job: a 21mm socket, a cross screwdriver, and a Torx T40. Using a 10mm socket, disconnect the negative terminal of the battery. With a T40 Torx socket, remove the two side screws from the steering wheel, going all the way to the end; place tape on top of the steering wheel to reposition the steering wheel exactly in the centre. Now, pull out the airbag from the bottom, gently shaking it. Lever with a screwdriver to lift the orange part of the connector to remove it. Open the grommet and fully extract the airbag cable. Once the airbag is removed, there are two cables to disconnect: the earth and the main control connector, as shown in the video. With the 21mm socket, unscrew the central bolt counter-clockwise without removing it completely, then you can extract the nut and the steering wheel by sliding the cables inside. Now, to avoid losing the screws, set up and work on a table; then unscrew the screws with a cross screwdriver to remove the rear cover. Flip the steering wheel and remove the three control blocks; now it will be possible to fit the new control set and reassemble all parts in the steering wheel.
Updated on 15 June 2026 by ScegliAuto
Related tutorials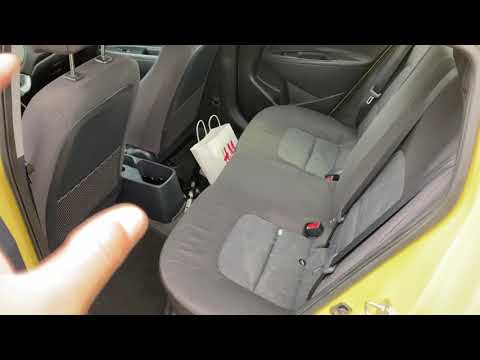
Kia Rio
(2011-2017 /
MK 3, UB)
Before you can start, open the rear doors of your Kia Rio. Then, enter the cabin. This will allow you to reach the clips that hold the rear seats in …
Kia Rio
(2017-2023 /
)
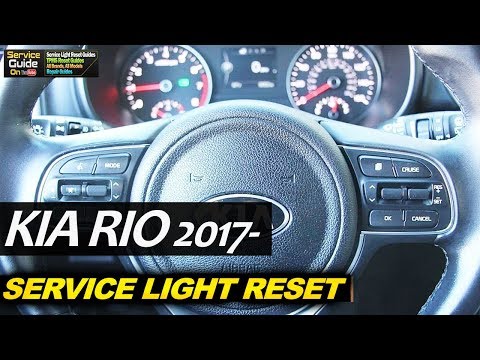
In today's video tutorial, learn the main instructions to reset the regular maintenance light for the oil change on a fourth generation Kia Rio from …
Kia Rio
(2011-2017 /
MK 3, UB)
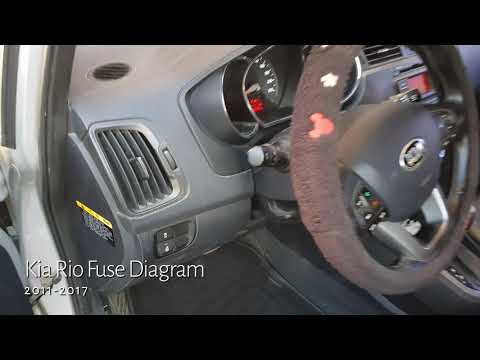
The fuses in the Kia Rio are located inside one of the designated fuse boxes installed in the vehicle: in this type of car, you will find two boxes t…
Other guides you may be interested in
|
How to Replace the Cabin Filter on the Ford Puma
To replace the cabin filter on the Ford Puma, detach the small cover located on the left side of the front passenger footwell: once this is removed, loosen the underlying screw so that you can detach the corresponding panel. At this point, locate the filter box underneath, which can be opened to remove the filter inside. The new filter can then be inserted, covering everything with the box and refitting the corresponding panel into its housing. by ScegliAuto More videos
|
|
For advertising on this site Write to info@scegliauto.com
ScegliAuto is not responsible for any inaccuracy of the data in the lists. To report any inaccuracy or your business (if you own the business in question), please write to info@scegliauto.com
Number of seconds to generate the page: 0.150
(c) ScegliAuto 2026 - info@scegliauto.com - Privacy policy VAT number: IT01247470535 |
