
|
Do it yourself
| |||
| ||||


How to replace the license plate light bulb of the Kia Sportage MK4
Model: Kia Sportage
QL, MK 4
- Years 2016-2022
In this video, we will see how to replace the license plate light of the Kia Sportage MK4; the purpose of this light is to illuminate the license plate at night, and during times when visibility is poor. In fact, the license plate must always be visible, as it is the vehicle's identification mark for third parties, and driving with the license plate light off can lead to fines. Before starting, it would be a good idea to disconnect the negative terminal of the battery. Gently pry with a plastic spatula to remove the light fixture from its housing, disconnect the electrical connector by pressing the release tab, then remove the socket by turning it counterclockwise, and remove the bulb, which we will take out of the holder. Place the new bulb in its place, without touching it with bare hands, and put it back in place by turning the holder clockwise. Reconnect the electrical connector and put the light fixture back in place.
Posted on 29 December 2024 by ScegliAuto
Video tutorial
Related tutorials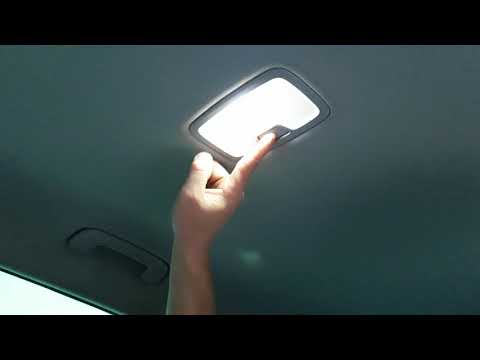
Kia Sportage
(2016-2022 /
QL, MK 4)
How to replace the damaged number plate bulb on your Kia Sportage. Use a screwdriver or plastic lever to remove the number plate light fitting locate…

Kia Sportage
(2016-2022 /
QL, MK 4)
In today's video, we will see the main steps to disassemble and replace the indicator bulb in the front headlamp of the fourth series Kia Sportage, i…

Kia Sportage
(2016-2022 /
QL, MK 4)
In today’s video, you will learn how to disassemble and replace the dipped beam bulb of the front headlight on the fourth generation Kia Sportage in …
Other guides you may be interested in
|
How to Open the Bonnet on the Lancia Y
To open the bonnet on this vehicle, follow these simple instructions: first, open the driver's door and locate the lever positioned just below the dashboard, marked with an image of the vehicle with the bonnet open. Pull this lever towards you until you hear a "click" indicating the bonnet is released. Next, exit the cabin and stand in front of the bonnet to disengage the safety catch and complete the opening. To do this, slightly lift the bonnet, locate the yellow lever underneath, and pull it to the left to fully release and open the bonnet. by ScegliAuto More videos
|
|
For advertising on this site Write to info@scegliauto.com
ScegliAuto is not responsible for any inaccuracy of the data in the lists. To report any inaccuracy or your business (if you own the business in question), please write to info@scegliauto.com
Number of seconds to generate the page: 0.172
(c) ScegliAuto 2026 - info@scegliauto.com - Privacy policy VAT number: IT01247470535 |
