
|
Do it yourself
| |||
| ||||


|
Model: Kymco Agility 200i
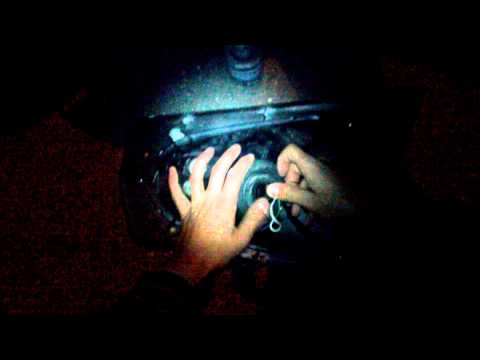
To remove the front shield and replace the dipped beam headlight bulb, first of all, place the motorcycle in a stable and safe position to be able to work on it. Now, using a screwdriver or a small plastic lever, we remove the small plastic element that is immediately above the headlight. Using a suitable screwdriver, we unscrew the screw that we find inside the hole and the three screws that are in the lower edge of the gray element of the shield. We also unscrew the two screws that we find in the upper edge, on the two sides of the handlebar. We extract from its seat the gray element of the shield (which also includes the headlight unit). We remove the plastic cap that protects, the electrical elements, water and humidity and we have access to the bulb. We unlock the same, acting on the spring that fixes it in position and extract it from its seat. We replace it with the new one and reassemble all the elements following the same operations seen but proceeding in the opposite direction. We can also replace the position light bulbs which, however, can be replaced without removing the shield.
Posted on 20 November 2023 by ScegliAuto
 Kymco Agility 200 bulb replacement
Agility 200i Remove the cap in the center of the shield and unscrew the screw now discovered with a Phillips screwdriver, then unscrew the screw below (going a li  How do you replace the battery of the Kymco Agility 200i?
Agility 200i To replace the battery on the Kymco Agility 200i, you need to loosen the screws that secure the panel located in the central part of the motorcycle, 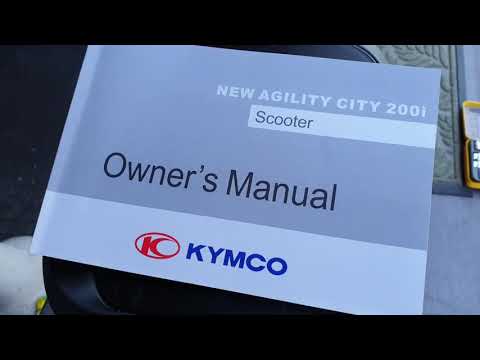 Replacing the brake light bulb on Kymco Agility 200i
Agility 200i First remove the scooter battery (unfortunately the only access is from here, behind the compartment under the saddle) by unscrewing the fastening bo |
How do you replace the exhaust pipe of the TM Racing 125?
To replace the exhaust of the TM Racing 125, you need to loosen the screws that secure the side panel of the rear fender: once this panel is removed, you can unscrew the screws that hold the exhaust supports and also widen the connecting clamp between the end cap and the collector. Once the old exhaust is freed, it can be completely removed from its seat so that the new one can be inserted: this must be properly secured and covered by the appropriate panel. by ScegliAuto More videos
|
|
For advertising on this site Write to info@scegliauto.com
ScegliAuto is not responsible for any inaccuracy of the data in the lists. To report any inaccuracy or your business (if you own the business in question), please write to info@scegliauto.com
Number of seconds to generate the page: 0.025
(c) ScegliAuto 2025 - info@scegliauto.com - Privacy Policy VAT number: IT01247470535 |