
|
Do it yourself
| |||
| ||||


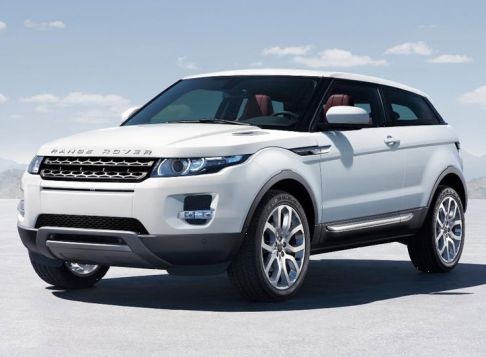
How to Replace the Dome Light Bulbs on a Land Rover Evoque
Model: Land Rover Evoque
L538, MK 1
- Years:
2011, 2012, 2013, 2014, 2015, 2016, 2017, 2018
Video tutorial
How to replace the dome light bulbs on a Land Rover Evoque. Pry between the dome light lens and its frame (without breaking anything); pull the dome light out of the panel and disconnect the power connector from the bulb holder. Replace the damaged bulb with a new one (same size and voltage). Reinstall the dome light plastic into its housing (press the clear plastic with your hands until the tabs lock into the side plastic). Test the proper operation of the replaced bulbs in the dome light after installation.
Updated on 14 March 2026 by ScegliAuto
Related tutorials
Land Rover Evoque
(2011-2018 /
L538, MK 1)
Today, let's go through the steps to remove and replace the rear headlight bulbs on the Land Rover Range Rover Evoque. First, open the trunk and star…

Land Rover Evoque
(2018-2026 /
MK 2, L551)
The Land Rover Evoque has three fuse boxes instead of the usual two commonly found in most vehicles. The first two are located in standard positions.…
Land Rover Evoque
(2011-2018 /
L538, MK 1)
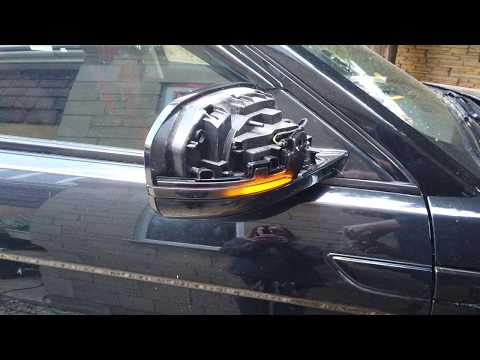
In this short video, we will see how to remove and replace the cap of the external rearview mirror and the turn signal bulb on the first generation L…
Other guides you may be interested in
|
How to enter the radio code in the Opel Zafira?
In the Opel Zafira, it may happen that the radio locks and consequently requests the appropriate security code, especially after disconnecting or replacing the battery. The code can be found in the documents provided at purchase or through one of the various online recovery services. Once obtained, enter it by following the procedure shown in this tutorial. First, switch on the instrument panel, then press and hold both the "AS" button and the left knob for about 5 seconds. Next, enter the first digit by repeatedly pressing the "1" button, continue with the next 3 buttons, and save the setting by pressing the "AS" button again. by ScegliAuto More videos
|
|
For advertising on this site Write to info@scegliauto.com
ScegliAuto is not responsible for any inaccuracy of the data in the lists. To report any inaccuracy or your business (if you own the business in question), please write to info@scegliauto.com
Number of seconds to generate the page: 0.019
(c) ScegliAuto 2026 - info@scegliauto.com - Privacy policy VAT number: IT01247470535 |
