
|
Do it yourself
| |||
| ||||


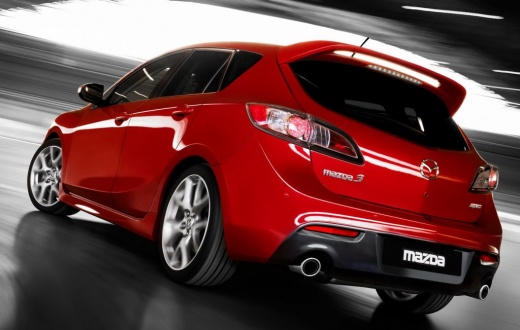
Replacing the Rear Lights of a Mazda 3
Model: Mazda 3
- Years:
2009, 2010, 2011, 2012, 2013
Video tutorial
Today, we will go through the steps necessary to remove and replace the rear lights of a Mazda 3. First, open the rear hatch of the boot and start removing the inner trim on the side, gaining access to the inside of the light. Disconnect the electrical connector of the lights and unscrew the fastening screws of the rear light, as illustrated in the video. At this point, remove the light from the outside, replacing the bulbs or the entire unit; reassemble and connect the light to the bodywork, testing the operation of the stop lights.
Posted on 17 October 2026 by ScegliAuto
Related tutorials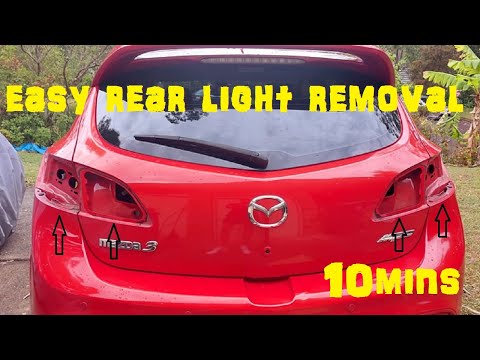
Mazda 3
(2009-2013 /
BL, MK 2)
In this tutorial, see how to remove the rear lights from the Mazda 3, a very simple and quick operation, necessary if you need to replace a bulb or t…

Mazda 3
(2003-2009 /
BK, MK 1)
To replace the front headlamps on your Mazda 3, proceed as follows: 1) Open the bonnet. 2) Unscrew and remove the screws at the top of the bumper. 3)…

Mazda 3
(2009-2013 /
BL, MK 2)
In this tutorial, we can see how to replace the front headlight bulbs in the Mazda 3, an extremely simple and quick operation. First of all, make sur…
Other guides you may be interested in |
How to Open the Hood of the Mercedes GLC?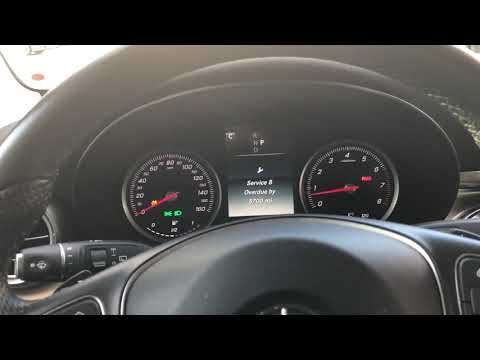
To open the hood of the Mercedes GLC, go inside the cabin on the driver's side to locate the red lever at the bottom of the dashboard on the left. Once you find this lever, pull it back to unlock the hood latch mechanism. After the mechanism is unlocked, exit the cabin and move the latch corresponding to the mechanism to fully release the hood. At this point, you can lift it and access the engine compartment. by ScegliAuto More videos
|
|
For advertising on this site Write to info@scegliauto.com
ScegliAuto is not responsible for any inaccuracy of the data in the lists. To report any inaccuracy or your business (if you own the business in question), please write to info@scegliauto.com
Number of seconds to generate the page: 0.018
(c) ScegliAuto 2026 - info@scegliauto.com - Privacy policy VAT number: IT01247470535 |
