
|
Do it yourself
| |||
| ||||


|
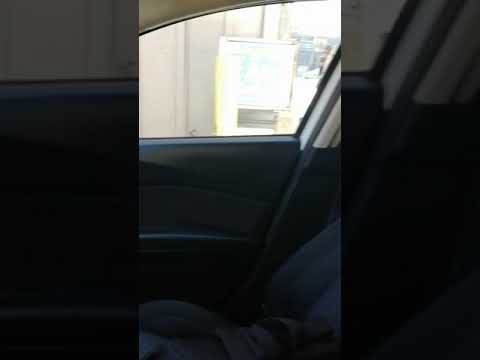
Without stating the obvious, tyres must be maintained and replaced throughout their lifespan; however, it may happen that any foreign object can damage them irreparably, forcing you to perform a DIY replacement. Fortunately, most manufacturers provide a spare wheel; if not, it is advisable to bring one yourself. In this example, with the wheel included in the boot, we will see how to proceed with its replacement. Straighten the steering wheel to make the operation easier; open the boot, under the plastic you will find the spare wheel, the special jack to lift the vehicle, and the wheel removal tool. Take them out. Position the jack under the lip, fitting it into the designated hole; raise it manually. Using the tool mentioned, remove the wheel bolts (a fair amount of force may be needed initially), ensuring to lift the vehicle further before completely removing the wheel. After that, fit the spare wheel aligning it with the bolt holes and reattach the bolts without fully tightening them. Lower the vehicle slightly and then proceed to tighten.
Updated on 9 February 2026 by ScegliAuto
Video tutorial
Related tutorials
Mazda 3
(2013-2019 /
MK 3, BM, BN)
The spare wheel kit and jack on a Mazda 3 vehicle are provided as standard, for a small additional cost, and are positioned inside the trunk. In case…
Mazda 3
(2013-2019 /
MK 3, BM, BN)
In this tutorial, we can see how to reset the tire pressure light in the Mazda 3, an extremely simple and quick operation, to be done only once the c…

Mazda 3
(2013-2019 /
MK 3, BM, BN)
In this tutorial, we can see how to reset the tire pressure light in the Mazda 3, a very simple and quick operation, to be carried out only once the …
Other guides you may be interested in
|
How to Replace the Diesel Filter on a Dacia Duster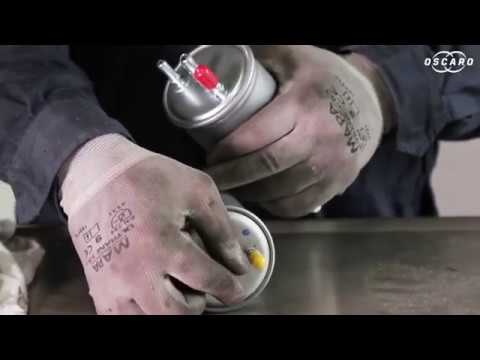
Let's see how to replace the diesel filter on a Dacia Duster. Start by removing the plastic cover at the bottom of the bumper with a suitable screwdriver (remove the circle), then reach the front headlamp located in the bumper (as shown in the video). After removing the container, take out the filter inside and fit a new one (same size). Refit the container and the plastic cover under the car's bumper with the attached clips. Test the proper functioning. Refit the front circle with the securing clips and lower the car. by ScegliAuto More videos
|
|
For advertising on this site Write to info@scegliauto.com
ScegliAuto is not responsible for any inaccuracy of the data in the lists. To report any inaccuracy or your business (if you own the business in question), please write to info@scegliauto.com
Number of seconds to generate the page: 0.070
(c) ScegliAuto 2026 - info@scegliauto.com - Privacy policy VAT number: IT01247470535 |