
|
Do it yourself
| |||
| ||||


Replacing the Battery on a Mazda CX-3
Model: Mazda Cx 3
MK 1
- Years 2015-2023
Periodically, like all cars, it is necessary to replace the battery. Ensure you purchase the correct replacement; the battery for the Mazda CX-3 is a start-stop battery, so it is advisable to consult a trusted parts dealer. To replace the battery, access the battery compartment by opening the front bonnet. Locate the two terminals of the old battery, uncover the covers that conceal the clamps, and obtain a cross-head screwdriver. Unscrew the screw on each terminal to loosen the clamps and disconnect them, taking care not to lose any screws or bolts. Remove the old battery and position the new one. Tighten the clamps again and reattach the covers. Make sure to dispose of the battery correctly; return it to your parts dealer who will ensure it is disposed of by specialised companies.
Updated on 2 May 2026 by ScegliAuto
Video tutorial
Related tutorials
Mazda Cx 3
(2015-2023 /
MK 1)
If you want to replace the battery of your Mazda CX 3 by yourself, you must pay attention to the steps described in the following guide and then put …
Mazda Cx 3
(2015-2023 /
MK 1)
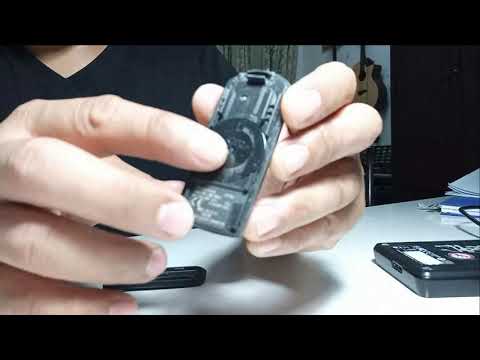
In today's tutorial, we will see how to disassemble and replace the battery of the key fob for the Mazda CX-3. First, take the key fob in hand and st…

Mazda Cx 3
(2015-2023 /
MK 1)
The replacement of the key fob battery for a Mazda CX 3 car is a very simple and quick procedure that does not require any tools to be carried out. M…
Other guides you may be interested in
|
How to Adjust the Brightness of the Instrument Cluster on a Peugeot 3008?
To adjust the brightness of the instrument cluster on a Peugeot 3008, you need to turn on the ignition and access the settings via the menu located in the central area of the dashboard. In the screen that appears, select the "Display Configuration" option: now, by selecting the "Brightness" option, you can adjust it using the dedicated slider that will appear on the screen. The adjustment should be made with the headlights on as well as with them off. Once the adjustment is complete, you can turn off the instrument cluster. by ScegliAuto More videos
|

|
For advertising on this site Write to info@scegliauto.com
ScegliAuto is not responsible for any inaccuracy of the data in the lists. To report any inaccuracy or your business (if you own the business in question), please write to info@scegliauto.com
Number of seconds to generate the page: 0.457
(c) ScegliAuto 2026 - info@scegliauto.com - Privacy policy VAT number: IT01247470535 |
