
|
Do it yourself
| |||
| ||||


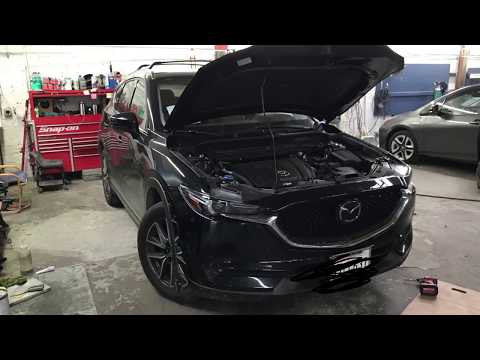
How to Remove the Rear Bumper
Model: Mazda CX-5
KE, MK 1
- Years 2012-2017
If you need to remove the bumper to replace or repair it, follow the steps shown in this video. First, always disconnect the negative battery terminal. Then, remove the cover and disconnect the connectors for the rear lights. Next, unscrew the three screws to completely detach the light units. Now unscrew the two screws at the corners of the bumper. Release the clips of the trim on the wheel arch and remove it, but only partially. Underneath the trim, there are two more clips to release and one screw. Moving to the lower part, you will need to remove additional clips and two screws. Now, simply detach the bodywork section that includes the bumper. When reassembling, ensure the piece is perfectly aligned and reattach it. Reinsert the clips and the screw under the wheel arch and refit the trim onto the wings. Then, replace the clips under the wing, those under the bumper, and the corner screws. At this point, you can reassemble the light units. Reconnect the battery and reset the electric windows by pressing the ignition button twice. Fully lower the electric windows and then close them while holding the button for a few seconds. Then, hold the TPMS button until you hear a beep. Car model: MAZDA CX-5 Year: 2013
Required tools: panel clip removal tool, 8 mm and 10 mm socket.
Updated on 11 February 2026 by ScegliAuto
Video tutorial
Related tutorials
Mazda CX-5
(2012-2017 /
KE, MK 1)
Let's discover in this guide the steps that will allow us to disassemble the rear bumper and lights of the Mazda CX-5. First, let's move to the back …
Mazda CX-5
(2012-2017 /
KE, MK 1)
The guide shows how to remove the front bumper of the Mazda CX5 Mk1. The first step is to remove the plastic cover of the engine compartment by disco…

Mazda CX-5
(2012-2017 /
KE, MK 1)
The following guide shows how to replace the bumper on your car. For small interventions like this, you can do it yourself without needing to take th…
Other guides you may be interested in
|
How to Remove the Steering Wheel Airbag on a Dodge Journey
How to remove the steering wheel airbag on a Dodge Journey? Follow these steps. Before removing the steering wheel, disconnect the battery terminals located in the engine bay. Remove the inspection caps from the back of the steering wheel, then unscrew the airbag retaining bolts with a socket wrench. Once the driver’s airbag is released, disconnect the power connectors and remove the airbag from the steering wheel. For reinstallation: connect the power connectors, then press the airbag back onto the steering wheel while simultaneously tightening the rear bolts. by ScegliAuto More videos
|

|
For advertising on this site Write to info@scegliauto.com
ScegliAuto is not responsible for any inaccuracy of the data in the lists. To report any inaccuracy or your business (if you own the business in question), please write to info@scegliauto.com
Number of seconds to generate the page: 0.092
(c) ScegliAuto 2026 - info@scegliauto.com - Privacy policy VAT number: IT01247470535 |