
|
Do it yourself
| |||
| ||||


How to reset maintenance on the Mazda CX5 Mk2
Model: Mazda CX-5
MK 2
- Years 2017-2024
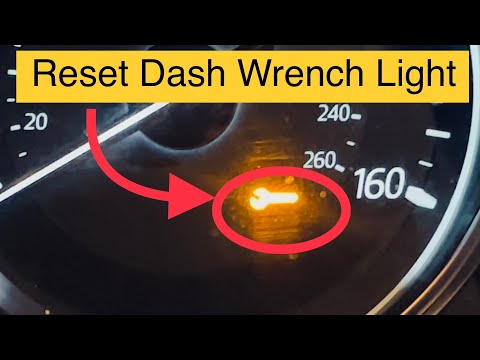
The guide shows you how to reset the Mazda CX5 Mk2 maintenance light. The first step is to turn on the instrument panel of the machine and, from the steering wheel controls, press the â € œInfoâ € button. Once you have entered the settings menu, scroll to the sheet relating to vehicle maintenance. Enter the scheduled services tab in such a way as to be able to set the time and mileage expiration at the next service. At this point, it is possible to go back in the menu with the appropriate key, until exiting the settings. Switch off and restart the vehicle to check that the operation has been completed correctly.
Posted on 29 June 2022 by ScegliAuto
Video tutorial
Related tutorials
Mazda CX-5
(2017-2024 /
MK 2)
When the service light on the instrument panel of your second-generation Mazda CX5 (2018) continues to stay on, you don't have to worry as it is simp…
Mazda CX-5
(2012-2017 /
KE, MK 1)
In the following guide dedicated to your Mazda CX5 first generation (year 2012-2017), we will discover together how to manually reset the orange main…

Mazda CX-5
(2012-2017 /
KE, MK 1)
The guide shows you how to reset the engine oil and maintenance warning light on the Mazda CX5. The first step is to turn on the instrument panel by …
Other guides you may be interested in
|
Frequently Asked QuestionsHow to Remove the Front Brake Rotor on a BMW X3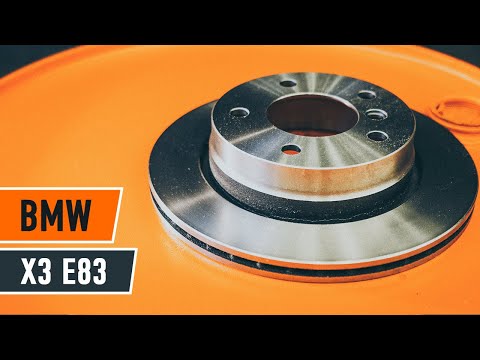
Let's see how to remove the front brake rotor on a BMW X3. Position your car on a column lift and raise it to a comfortable height for working. Loosen the bolts with a socket wrench or air drill and remove the wheel, then start loosening the bolts of the brake caliper to detach it from the bracket, using a screwdriver to remove the brake pads. Now remove the caliper bracket and loosen the bolts on the brake rotor (using a Torx screwdriver), pull the rotor towards you to slide it off the wheel hub. Install the new brake rotor with all the associated bolts, tighten the caliper bracket to the rotor and the brake pads, then install the brake caliper, making sure to tighten all the bolts securely. Before mounting the wheel, bleed the brake caliper and then tighten the bolt. Finally, install the wheel with the bolts. by ScegliAuto More videos
|

|
For advertising on this site Write to info@scegliauto.com
ScegliAuto is not responsible for any inaccuracy of the data in the lists. To report any inaccuracy or your business (if you own the business in question), please write to info@scegliauto.com
Number of seconds to generate the page: 0.106
(c) ScegliAuto 2026 - info@scegliauto.com - Privacy policy VAT number: IT01247470535 |