
|
Do it yourself
| |||
| ||||



How to Disable the i-stop Function on the Mazda CX-5
Model: Mazda CX-5
MK 1, KE
- Years:
2012, 2013, 2014, 2015, 2016, 2017
Video tutorial
In this video, you will see how to disable the i-stop function on the Mazda CX-5. This function is known as "start & stop" on other vehicles. The system works so that when the bonnet is closed, the so-called "i-stop" function activates, and it deactivates when the bonnet is open. By removing the sensor from the bonnet, you also permanently disable the function. You will only need a cross-head screwdriver, an old kitchen knife, and a plastic bag. Open the car's bonnet, remove the plastic cover shown in the photo by taking off the clips on both sides: Looking at the lock from the engine compartment side, you will notice a screw with a cross-head that you need to loosen to remove the sensor. Afterward, reinsert the screw with two washers to avoid losing it, in case you want to reconnect the sensor later. The bag is for storing the sensor neatly. Now, replace the two plastic covers and put the clips back in place. Very simple.
Updated on 30 July 2026 by ScegliAuto
Related tutorials
Mazda CX-5
(2012-2017 /
MK 1, KE)
To disable the i-Stop system of the Mazda CX-5, connect a diagnostic tool to the vehicle's OBD port: this port is located at the bottom of the dashbo…

Mazda CX-5
(2012-2017 /
MK 1, KE)
Today, discover the instructions to activate and deactivate the i-stop system on the Mazda CX-5 in simple steps. First, get in the vehicle and start …

Mazda CX-5
(2017-2024 /
MK 2)
In this brief guide, we will go through the instructions to disable the automatic folding of the external wing mirrors on the Mazda CX-5. First, get …
Other guides you may be interested in
|
How to Reset the AdBlue Warning Light on a Peugeot Boxer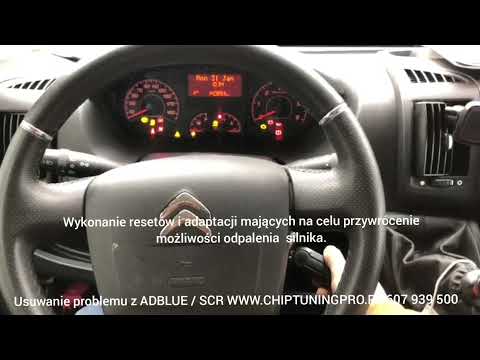
To reset the AdBlue system on a 2018 Peugeot Boxer, follow these steps: Start the engine and ensure the vehicle is parked in a well-ventilated area. Locate the "MENU" button on the dashboard or steering wheel controls. Press and hold the "MENU" button until the menu options appear on the display. Use the arrow buttons or scroll wheel to access the "Vehicle Settings" or "Settings" menu. Select the "AdBlue" or "AdBlue System" option. Look for the "Recharge" or "Reset" option in the AdBlue menu. Once you find the reset option, select it and confirm your choice when prompted. The system will be reset, and a confirmation message may appear on the display. Turn off the engine and wait a few seconds. Restart the engine and check that the AdBlue system has been reset. by ScegliAuto More videos
|
|
For advertising on this site Write to info@scegliauto.com
ScegliAuto is not responsible for any inaccuracy of the data in the lists. To report any inaccuracy or your business (if you own the business in question), please write to info@scegliauto.com
Number of seconds to generate the page: 0.027
(c) ScegliAuto 2026 - info@scegliauto.com - Privacy policy VAT number: IT01247470535 |
