
|
Do it yourself
| |||
| ||||


|
Video tutorial
Do you want to change the badge on your alloy wheels? We will show you how to do it with a detailed video. It is very simple. First, remove the wheel by unscrewing the appropriate bolts that hold it in place. Once removed, you can proceed to change the badge. This can be done quite easily and quickly. What you need to do is gently tap inside the wheel on the badge. After this operation, you will be able to detach it. Now you can finally take the new badge and install it. What you need to do is tap the wheel forward this time to ensure it fits perfectly. Once this is done, you can refit the wheel. Easy, right?
Updated on 23 February 2026 by ScegliAuto
Related tutorials
Mazda 6
(2002-2008 /
GG, MK 1)
Adjusting the clock on a 2002 Mazda 6 is very simple. This operation can be performed independently and in just a few minutes. The first step is to e…
Mazda 6
(2002-2008 /
GG, MK 1)
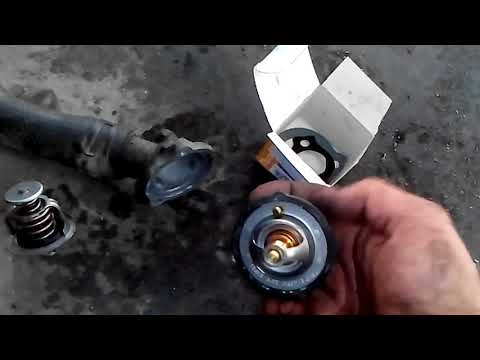
In this video tutorial, you will see how to remove and replace the thermostat on the Mazda 6 2.0 Diesel, first series, in simple and quick steps. Fir…

Mazda 6
(2012-2024 /
GJ, MK 3)
To replace the battery on a Mazda 6, open the bonnet to access the components inside the engine bay: the battery is located on the right side, next t…
Other guides you may be interested in
|
How to enter the radio code in the Opel Zafira?
In the Opel Zafira, it may happen that the radio locks and consequently requests the appropriate security code, especially after disconnecting or replacing the battery. The code can be found in the documents provided at purchase or through one of the various online recovery services. Once obtained, enter it by following the procedure shown in this tutorial. First, switch on the instrument panel, then press and hold both the "AS" button and the left knob for about 5 seconds. Next, enter the first digit by repeatedly pressing the "1" button, continue with the next 3 buttons, and save the setting by pressing the "AS" button again. by ScegliAuto More videos
|
|
For advertising on this site Write to info@scegliauto.com
ScegliAuto is not responsible for any inaccuracy of the data in the lists. To report any inaccuracy or your business (if you own the business in question), please write to info@scegliauto.com
Number of seconds to generate the page: 0.227
(c) ScegliAuto 2026 - info@scegliauto.com - Privacy policy VAT number: IT01247470535 |
