
|
Do it yourself
| |||
| ||||


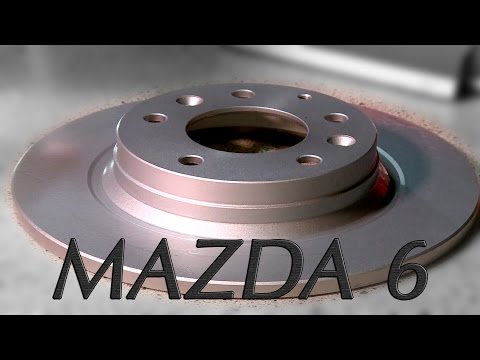
How to Install Rear Brake Discs and Pads on a Mazda 6
Model: Mazda 6
MK 1, GG
- Years 2002-2008
In this guide, we will see how to remove a brake disc along with all associated parts. Position your car on a column lift, loosen the bolts with a telescopic spanner, and raise it to a suitable height for work. Remove the wheel, then start unscrewing the bolts of the brake caliper, detaching it from the bracket with a socket. Loosen the oil bolt and screw in the piston with a right-hand thread until the fluid completely drains out. Now remove the caliper bracket and unscrew the bolts on the brake disc, pulling the disc towards you to slide it off the hub. Clean all residual dirt from the disassembled parts with brushes. Before assembly, lubricate the parts as shown in the video. Apply grease around the bolts and prepare all parts for assembly. Install the brake disc with all associated bolts, tighten the caliper bracket to the disc and the pads, then mount the brake caliper, ensuring everything is tightened properly. Before fitting the wheel, bleed the brake caliper and tighten the bolt. Now place the wheel onto the hub and tighten everything securely, lower the car and top up the oil that drained earlier in the designated reservoir in the engine bay. Finally, always check the brake pedal pressure.
Updated on 24 February 2026 by ScegliAuto
Video tutorial
Related tutorials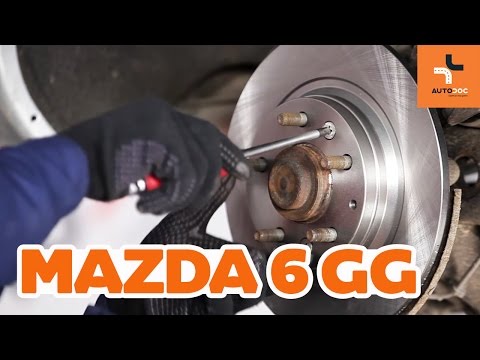
Mazda 6
(2002-2008 /
MK 1, GG)
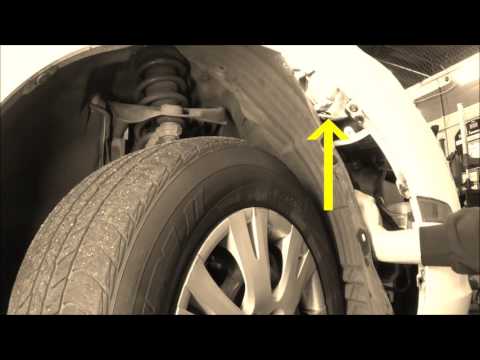
Lift the vehicle on a ramp and remove the rear wheel. Proceed to remove the fixing pins of the brake caliper to detach it from its seat, remove the o…
Mazda 6
(2008-2012 /
GH, MK 2)
Once you have lifted the vehicle and removed the rear wheels, disconnect the brake caliper from its bracket, remove the old pads, and detach the brac…
Mazda 6
(2008-2012 /
GH, MK 2)
In this video tutorial we will see how to replace the halogen / xenon headlight bulb of a Mazda 6. To do this we shouldn't have to disassemble the he…
Other guides you may be interested in
|
How to Replace the Cabin Fan Resistor on a BMW 3 Series
How to Replace the Cabin Fan Resistor on a BMW 3 Series. Open the door and remove the plastic cover under the dashboard on the right side. Use a trim tool to pry off the cover next to the dashboard. Get a screwdriver or a cordless drill, open the glove compartment, and unscrew the fastening screws around the perimeter with a screwdriver. Once this is done, pull out the glove compartment and disconnect the power cables. Remove the fan resistor from its housing, insert the new part into the filter holder, and reassemble all the components of the glove compartment as you disassembled them earlier. by ScegliAuto More videos
|
|
For advertising on this site Write to info@scegliauto.com
ScegliAuto is not responsible for any inaccuracy of the data in the lists. To report any inaccuracy or your business (if you own the business in question), please write to info@scegliauto.com
Number of seconds to generate the page: 0.078
(c) ScegliAuto 2026 - info@scegliauto.com - Privacy policy VAT number: IT01247470535 |