
|
Do it yourself
| |||
| ||||


How to change a front bulb of a Mercedes A-Class W169
Model: Mercedes Classe A
W169
- Years 2004-2012
In this video, we will see how to change the headlight bulb of a Mercedes Classe A W169. We open the hood: to access the bulbs on the driver's side, it is advisable to remove the windshield washer fluid reservoir; then we can easily reach the rubber covers that protect the bulbs, starting with the high beams that have an H7 bulb. We will need to disconnect the electrical connector, turn the bulb retaining ring counterclockwise and remove it. Remember to never touch the new bulb with bare hands, but use gloves when performing this operation. Proceed in the opposite direction by rotating the bulb clockwise for a quarter turn. The position light bulb is located in the same compartment, but to remove it you just need to pull it towards you. The cover on the body side instead contains the H7 bulb for the low beams: we will proceed as for the high beams. For the turn signal bulbs, we will need to enter through the wheel well, and then proceed as for the high beams.
Posted on 15 February 2025 by ScegliAuto
Video tutorial
Related tutorials
Mercedes Classe A
(2004-2012 /
W169)
..hange the position light bulb on a Mercedes A-Class W169: the bulb is the small one at the bottom of the headlight (under the high beam). Open the h.. …
Mercedes Classe A
(2004-2012 /
W169)
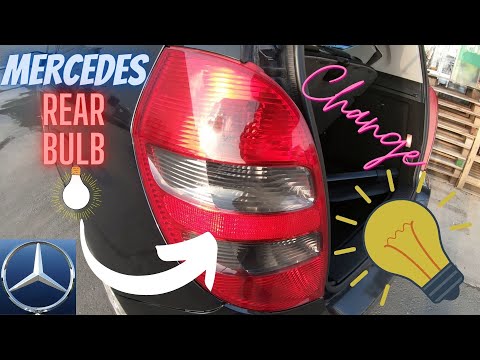
.. the rear headlight bulb on your Mercedes A-Class W169 (2004-2012), follow the steps outlined in this mini guide. First, ensure that you have parked.. …

Mercedes Classe A
(2004-2012 /
W169)
.. bulbs in the front headlights of your Mercedes A-Class W169 (2004-2012) are not functioning correctly, you need to replace them. This is a very simple.. …
Other guides you may be interested in
|
How to Repair the Key Spring of the Peugeot 207?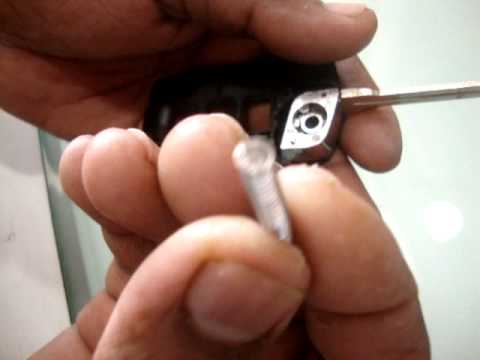
Over time, frequent use of the key's flip mechanism in the vehicle, dozens of times a day, inevitably leads to wear of the internal spring. As shown in this video, replacing the spring is quite simple and takes little time. After opening the casing halfway, first position the key, then the spring housing, and finally insert the spring into the previously mentioned housing. Close the casing by rotating it clockwise, ensuring all components fit perfectly, and test the key's flip mechanism. by ScegliAuto More videos
|

|
For advertising on this site Write to info@scegliauto.com
ScegliAuto is not responsible for any inaccuracy of the data in the lists. To report any inaccuracy or your business (if you own the business in question), please write to info@scegliauto.com
Number of seconds to generate the page: 0.329
(c) ScegliAuto 2026 - info@scegliauto.com - Privacy policy VAT number: IT01247470535 |
