
|
Do it yourself
| |||
| ||||


Replacement of the additional battery of the Mercedes Vito W447
Model: Mercedes Vito
MK 3, W447
- Years 2014-2024
In this video, we will see how to replace the additional battery of the Mercedes Vito W447, specifically dedicated to the Start & Stop function. This battery is located under the passenger seat, which needs to be pushed all the way forward; we will make space by also pushing back the corresponding rear seat. Under the passenger seat, we will find a box, from which we will remove the front partition, loosen the nuts, remove the foam protection, and the two fixing nuts. Pull the battery towards us, until we reach the negative pole: disconnect it, and then do the same with the positive one. It will also be necessary to remove the battery ventilation tube. Remove it and check for leaks, replace it by reassembling starting from the ventilation tube, then the positive pole, the negative pole, and then proceed in the opposite direction.
Posted on 21 June 2025 by ScegliAuto
Video tutorial
Related tutorials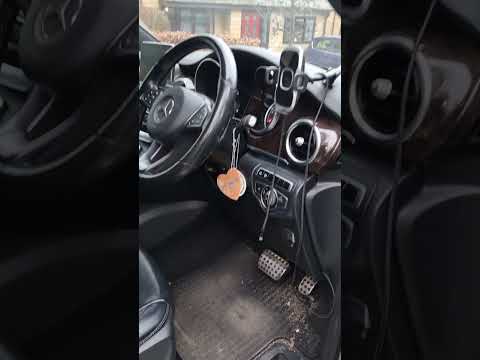
Mercedes Vito
(2014-2024 /
MK 3, W447)
If you are curious about the location of the OBD2 port on your Mercedes Vito W447, simply read the following guide carefully and follow all the descr…
Mercedes Vito
(2014-2024 /
MK 3, W447)
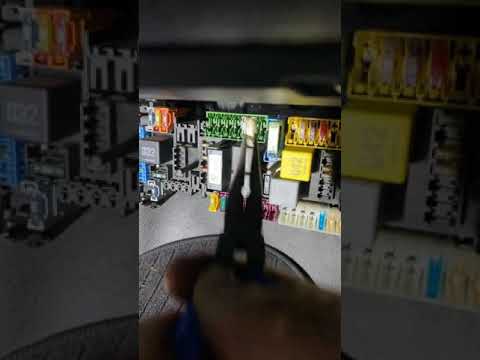
If you are looking for the fuse box of your Mercedes Vito W447 but have not yet found it, this guide is all you need. Before discovering where the fu…

Mercedes Vito
(2014-2024 /
MK 3, W447)
This guide will help you quickly locate the engine fuse box in your Mercedes Vito W447. Before starting, ensure the vehicle is parked safely and comp…
Other guides you may be interested in
|
Frequently Asked QuestionsHow to Reset the Tyre Pressure Light on the Opel Grandland X
While driving, if you notice the tyre pressure warning light coming on, first check the actual inflation pressure of the tyres and, if necessary, restore the pressures recommended by the manufacturer. After restoring the correct pressures, you need to reset the warning light that has illuminated on the instrument cluster. To do this, locate the reset button on the lower central console. Press this button and hold it down for at least 3 seconds, after which the low pressure indication will turn off. by ScegliAuto More videos
|
For advertising on this site Write to info@scegliauto.com
ScegliAuto is not responsible for any inaccuracy of the data in the lists. To report any inaccuracy or your business (if you own the business in question), please write to info@scegliauto.com
Number of seconds to generate the page: 0.099
(c) ScegliAuto 2026 - info@scegliauto.com - Privacy policy VAT number: IT01247470535 |
