
|
Do it yourself
| |||
| ||||


How to replace the hood lining on a Mercedes Class E W123 (also known as "the cat")
Model: Mercedes Classe E
W123
- Years 1976-1985
The Mercedes Classe E W123, a car that had its moment of glory in the 70s and 80s, was known as "the crawler" due to its robustness and reliability even at very high mileage (it was not uncommon to find examples with over 500,000 km, still in perfect condition). During those years it was used as a NCC, taxi, and representative car. A tireless worker! Now let's see how to replace the internal lining of the hood, which we can find on auto-doc. It with the EAN code 4027816089087 at the price of 47.99 euros + 9.95 euros for delivery. We open the hood (it would be ideal to remove it and place it on a table), clean the surface from any traces of old adhesive, dirt, and grease. Apply the adhesive generously on both the hood and the lining, paying attention to the edges and the central part. Wait a few minutes before joining the two parts, then position the lining firmly, using both hands and pressing firmly; if possible, get help, otherwise follow the video suggestion and lean a broom handle against it to maintain constant pressure while the glue sets. Let it dry for a few hours, then remove any excess glue. Speaking of glue, do not skimp on it, neither in quality nor quantity.
Posted on 11 November 2025 by ScegliAuto
Video tutorial
Related tutorials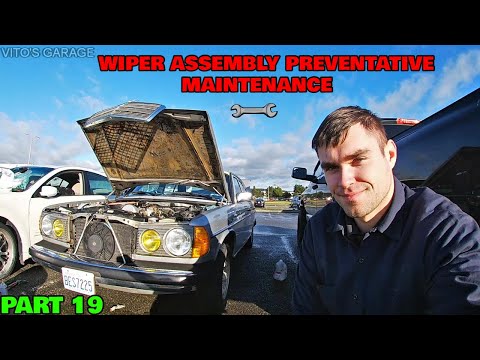
Mercedes Classe E
(1976-1985 /
W123)
In today's video, you will see how to remove the wiper arms on a Mercedes E-Class W123 (Giant) in simple and quick steps. First, open the hood of you…
Mercedes Classe E
(1976-1985 /
W123)
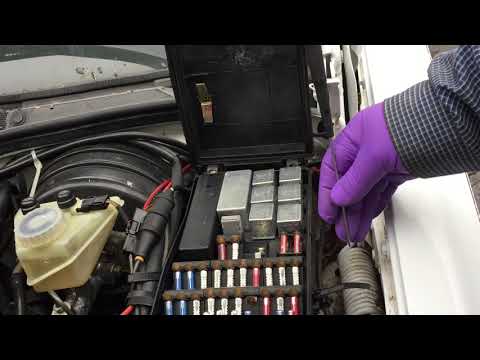
If you are looking for the cause of the sudden failure of an electrical component in the Mercedes E-Class, it is helpful to know the location of the …
Mercedes Classe E
(1976-1985 /
W123)
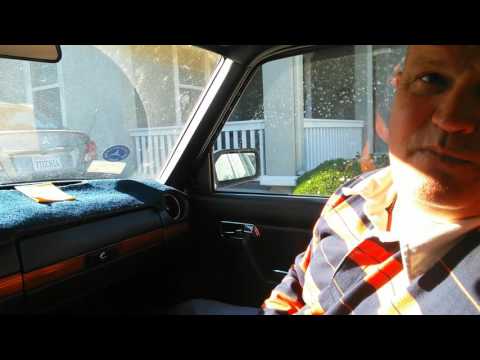
In this video, you will learn how to replace the interior rearview mirror on the Mercedes-Benz W123. First, detach the mirror from the mount fixed to…
Other guides you may be interested in
|
How to Reset the Tyre Pressure Light on the Opel Grandland X
While driving, if you notice the tyre pressure warning light coming on, first check the actual inflation pressure of the tyres and, if necessary, restore the pressures recommended by the manufacturer. After restoring the correct pressures, you need to reset the warning light that has illuminated on the instrument cluster. To do this, locate the reset button on the lower central console. Press this button and hold it down for at least 3 seconds, after which the low pressure indication will turn off. by ScegliAuto More videos
|
|
For advertising on this site Write to info@scegliauto.com
ScegliAuto is not responsible for any inaccuracy of the data in the lists. To report any inaccuracy or your business (if you own the business in question), please write to info@scegliauto.com
Number of seconds to generate the page: 0.175
(c) ScegliAuto 2026 - info@scegliauto.com - Privacy policy VAT number: IT01247470535 |
