
|
Do it yourself
| |||
| ||||


How to Remove the Door Panel of a Mercedes GL 450
Model: Mercedes Gl
MK 1, X164
- Years 2006-2012
To proceed with removing the inner door panel of the vehicle, first locate the aluminium-coloured trim under the opening handle and detach it using a flathead screwdriver. After that, unclip the housing of the door lock controls located next to the opening handle. Under the previously removed trim and under the central locking control, there are screws that need to be removed. Then, extract the plastic trim that frames the window and the speaker support found at the base of the window (be careful of the rear connector). At this point, unclip all the fastening clips around the panel; this will free the panel.
Updated on 19 May 2026 by ScegliAuto
Video tutorial
Related tutorials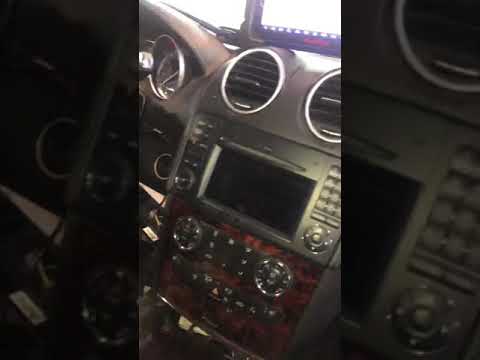
Mercedes Gl
(2006-2012 /
MK 1, X164)
In this short video, see the step-by-step instructions to remove and replace the ignition switch on the Mercedes GL 450 in simple and quick steps. Fi…

Mercedes Gl
(2012-2019 /
X166, MK 2)
In this new guide aimed at those of you who own a 2014 Mercedes GL450, we will explain how you can independently remove the door panel. First of all,…

Mercedes Gl
(2006-2012 /
MK 1, X164)
These short and simple instructions will allow us to disassemble and replace the front door panel of the Mercedes GL. First, we open the front door a…
Other guides you may be interested in
|
How to Connect the Cables to the Battery of the Citroen Xsara Picasso?
In this tutorial, you will see how to connect the cables to the battery of the Citroen Xsara Picasso, useful if you need to recharge it or perform an emergency start. First, ensure the key is not inserted, then open the bonnet and move to the front of the left headlamp. Next, locate the bolt just behind the filter box and connect the positive terminal clamp to it. Now you can connect the negative terminal to any point on the chassis, such as the indicated point. Once the operation is complete, ensure you disconnect the negative first and then the positive. by ScegliAuto More videos
|
|
For advertising on this site Write to info@scegliauto.com
ScegliAuto is not responsible for any inaccuracy of the data in the lists. To report any inaccuracy or your business (if you own the business in question), please write to info@scegliauto.com
Number of seconds to generate the page: 0.072
(c) ScegliAuto 2026 - info@scegliauto.com - Privacy policy VAT number: IT01247470535 |
