
|
Do it yourself
| |||
| ||||


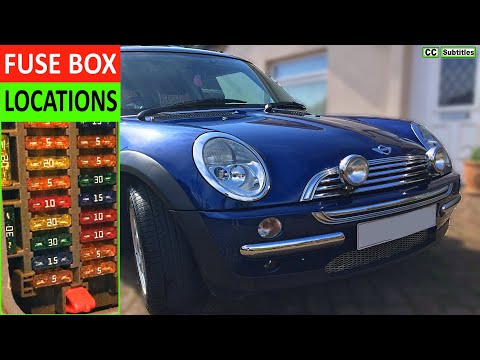
Where can the fuse diagram for the Mini R52 be found?
Model: Mini Mini
R52, R50, R53
- Years 2001-2007
The diagrams or schematics of the fuses of the Mini R52 are contained inside the fuse box, or rather the fuse boxes, as there is more than one. Each of these boxes has one, printed on the inside of the cover, but there is also a copy in the car's user manual. The aforementioned boxes are located in the following points of the vehicle: under the steering wheel, near the door, on the opposite side, next to the passenger door, and in the engine compartment. By watching the video posted here, it is clearly seen where they are installed and how to open their covers, as well as the internal composition of the aforementioned fuses.
Posted on 29 April 2025 by ScegliAuto
Video tutorial
Related tutorials
Mini
(2001-2007 /
R52, R50, R53)
Today's instructions will show us the positioning and layout of the internal fuses of the Mini Cooper, following these simple steps. First, we climb …

Mini
(2001-2007 /
R52, R50, R53)
The fuses of the Mini Cooper are located inside the appropriate fuse boxes that are installed on the vehicle: in this type of vehicle it will be poss…
Mini
(2001-2007 /
R52, R50, R53)
The fuses of the Mini R50 are divided into the appropriate fuse boxes: in this model of car there are two. The first is located inside the passenger …
Other guides you may be interested in
|
Removing the Front Arm Bushing of a Hyundai Getz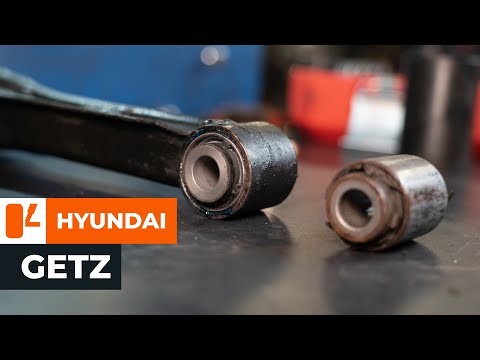
Let's look at removing the front arm bushing of a Hyundai Getz. First, place the car on a column lift and loosen the wheel nuts with a telescopic spanner, then remove the wheel. Use a socket spanner to unscrew the lower securing bolt of the arm and the bolt mounted under the wheel hub, then unscrew the bolts on the upper part of the arm (as shown in the video). Remove the bushing from the bolt housing. Always compare the parts to be replaced with the new ones; if they are suitable, you can install them. Start the installation of the new part: fit the new bushing and tighten all bolts to the specified torque. Double-check the correct tightening of the parts. Refit the wheel to complete the job. by ScegliAuto More videos
|
|
For advertising on this site Write to info@scegliauto.com
ScegliAuto is not responsible for any inaccuracy of the data in the lists. To report any inaccuracy or your business (if you own the business in question), please write to info@scegliauto.com
Number of seconds to generate the page: 0.148
(c) ScegliAuto 2026 - info@scegliauto.com - Privacy policy VAT number: IT01247470535 |