
|
Do it yourself
| |||
| ||||


Replacing the Rear Brake Pads
Model: Mini Mini
R50, R52, R53
- Years 2001-2007
Loosen the wheel nuts and lift the vehicle securely. Unscrew the bolts and remove the wheel. Unscrew the two retaining screws of the caliper with a spanner and detach it. Remove the caliper support bolts and take it out. Clean the entire braking assembly from deposits using a solvent. Thoroughly clean the caliper, piston, and caliper support as well. Refit the caliper support. Install the new brake pads, paying attention to the direction of rotation. Grease the fixing pins and reposition the piston, ensuring proper operation. Carefully reassemble the caliper and springs. Ensure the brake pads adhere perfectly to the disc.
Updated on 5 February 2026 by ScegliAuto
This video is currently unavailable
Related tutorials
Mini
(2007-2014 /
R57, R55, R56)
.. Let's see the process of disassembling and replacing the rear brake pads of the Mini Cooper, in simple steps. First, lift the car, even just on.. …
Mini
(2010-2016 /
Countryman1, R60)
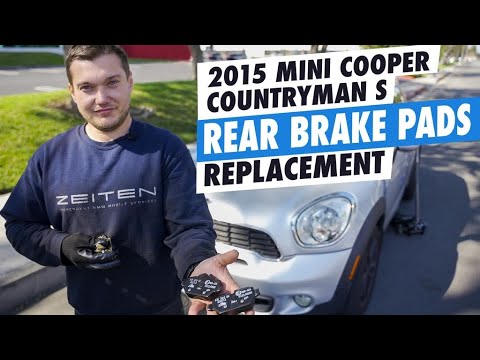
.. step-by-step instructions for disassembling and replacing the rear brake pads of the Mini Countryman, in simple steps. First, we lift the car and remove.. …

Mini
(2007-2014 /
R57, R55, R56)
Today, we will see the instructions to reset the brake pad service light of the Mini Clubman. First, get inside the vehicle and turn on the instrumen…
Other guides you may be interested in
|
How to Remove the Original Radio from a Renault Trafic
How to remove the original radio from a Renault Trafic? Follow this video closely to perform the removal: use the original or aftermarket metal keys to detach the stereo, insert the keys into the holes on the plastic cover of the stereo, pull the stereo towards you as shown in the video, and extract the radio while being careful of the various wiring (disconnect the power connectors and the antenna cable). Finally, reinstall the original radio or a generic brand with the appropriate adapter for the input and connector. by ScegliAuto More videos
|
|
For advertising on this site Write to info@scegliauto.com
ScegliAuto is not responsible for any inaccuracy of the data in the lists. To report any inaccuracy or your business (if you own the business in question), please write to info@scegliauto.com
Number of seconds to generate the page: 0.068
(c) ScegliAuto 2026 - info@scegliauto.com - Privacy policy VAT number: IT01247470535 |