
|
Do it yourself
| |||
| ||||


Replacing Dipped Beam on Mini Cooper
Model: Mini Mini
R56, R55, R57
- Years 2007-2014
Lift the bonnet and insert the support rod. First, open and remove the rear cover, then locate the dipped beam bulb in the engine bay. At this point, you can disconnect the connector by rotating it (counterclockwise) and pulling it out along with the LED bulb. Also, remove the bulb from its connector by pressing on the tab. Done! As you can see, this is a very simple operation. Now, insert the new LED bulb into the connector and mount everything back in place. Refit the rear cover and you're done.
Updated on 10 April 2026 by ScegliAuto
Video tutorial
Related tutorials
Mini
(2007-2014 /
R56, R55, R57)
In this guide, we will cover the main steps for removing and replacing the cabin fan and its resistor on a Mini Cooper S. First, get inside the cabin…
Mini
(2007-2014 /
R56, R55, R57)
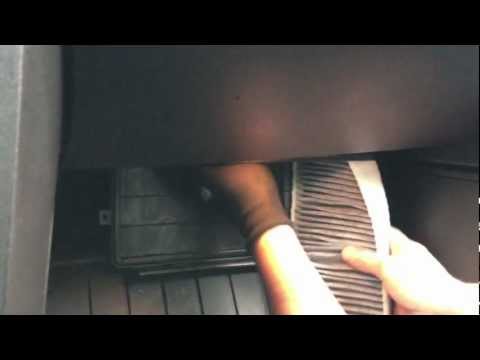
In this short video, see how to easily replace the cabin air filter on the Mini Cooper R56. To do this, position yourself on the passenger side and g…

Mini
(2001-2007 /
R53, R52, R50)
If the tire pressure warning light on your Mini Cooper R52 continues to stay on constantly on the instrument panel and you want to manually reset it,…
Other guides you may be interested in
|
How to Reset the Central Locking of the Volkswagen Golf 4?
If the central locking system of the Volkswagen Golf 4 is not working, it is likely necessary to reset the system: to do this, open the driver's door and detach the side panel of the dashboard next to the steering wheel. Under this panel, you will find the fuses, including the one for the central locking, which is indicated in the manual as number 14. To reset the system, remove this fuse from its housing, then reinsert it or replace it with a new one of the same amperage: this will reset the central locking system. by ScegliAuto More videos
|

|
For advertising on this site Write to info@scegliauto.com
ScegliAuto is not responsible for any inaccuracy of the data in the lists. To report any inaccuracy or your business (if you own the business in question), please write to info@scegliauto.com
Number of seconds to generate the page: 0.290
(c) ScegliAuto 2026 - info@scegliauto.com - Privacy policy VAT number: IT01247470535 |
