
|
Do it yourself
| |||
| ||||


Examples of personalization of Mini Coopers
In this video we see only some customization options for our Mini, whether it's a Cooper or Countryman: we start with a matte wrap and a double white stripe also on the front grille, with the Pirelli sticker and white checkered finishes on the back; we see another one with red mirrors and black carbon stripes also around the grille and headlights; we see this black one with an offset red stripe, very aggressive, that goes down to the bumper, and the carbon fuel cap. Then there is always the double stripe on the hood, very classic. Now we will see how on this black Mini with a negative orange stripe, all chrome will be removed and it will be completely finished in black. We then see a black Cooper S with blue stripe and mirrors, an unconventional choice; even a simple white stripe on a black background makes the car more personal; like the opposite choice of black on white, with the roof in the opposite contrast!
Posted on 20 April 2024 by ScegliAuto
Video tutorial
Related tutorials
Mini
(2001-2007 /
R52, R50, R53)
If the tire pressure warning light on your Mini Cooper R52 continues to stay on constantly on the instrument panel and you want to manually reset it,…

Mini
(2007-2014 /
R57, R55, R56)
Before we begin, we will have to go and open the front hood of our Mini Cooper. So let's start by unscrewing and removing the bolts that secure the h…
Mini
(2001-2007 /
R52, R50, R53)
In case of incorrect time displayed on the small display of your Mini Cooper R53 (year 2001-2007), you can easily modify it manually by following the…
Other guides you may be interested in
|
How to Reset the Tyre Pressure Light on BMW 1 Series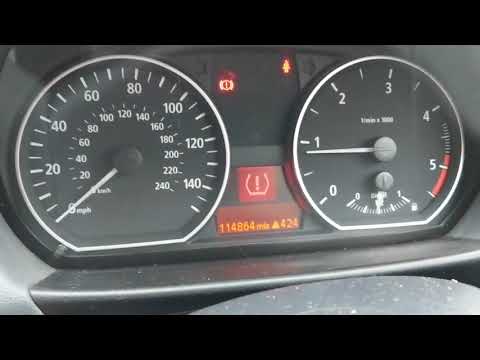
What to do when a warning light appears on the instrument cluster? Here's how to reset the tyre pressure light on a 1 Series. Turn on the instrument cluster, use the buttons on the lever to the left of the steering wheel, then, once in the settings menu, scroll with the up/down button until you find the "Reset Tyres" option, select it using the end of the lever as shown in the video to turn off the tyre pressure warning light and exit the settings menu. Check the instrument cluster by turning it off and back on with the ignition key. Repeat the same procedure for other settings. by ScegliAuto More videos
|

|
For advertising on this site Write to info@scegliauto.com
ScegliAuto is not responsible for any inaccuracy of the data in the lists. To report any inaccuracy or your business (if you own the business in question), please write to info@scegliauto.com
Number of seconds to generate the page: 0.067
(c) ScegliAuto 2026 - info@scegliauto.com - Privacy policy VAT number: IT01247470535 |