
|
Do it yourself
| |||
| ||||


How to Remove the Headlining Panel of the Mini One
Model: Mini Mini
R53, R52, R50
- Years 2001-2007
Carefully follow this video that explains how to remove the headlining panel of your Mini. Start by using a screwdriver to remove the headlining handles around the perimeter of the panel; once unscrewed, pull them away. Place all pieces and screws in a container to avoid losing them. Remove the side panels of the seatbelts, and then proceed to unscrew the sun visor panels with their securing fasteners; the screws are under the plastic caps. Disconnect the central light in the headlining panel and detach the power connector. Unscrew the rear-view mirror and the trim panels of the side pillars, being careful not to pull them violently to avoid damaging the retaining clips. Once all the plastic clips are released, the headlining panel will fall down; remove the last rivet with a plastic spatula near the rear-view mirror hole. Extract the panel from the boot area without twisting or deforming it. Then, refit the new panel in reverse order.
Updated on 25 February 2026 by ScegliAuto
Video tutorial
Related tutorials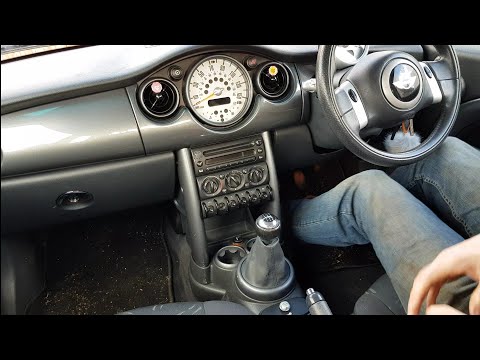
Mini
(2001-2007 /
R53, R52, R50)
How do you remove the stereo from a Mini Cooper? Let's look at the disassembly and reassembly of the stereo. Open the passenger side dashboard, unscr…

Mini
(2001-2007 /
R53, R52, R50)
This guide explains how to remove the door handle on a Mini Cooper R 50. To remove the handle, open the relevant door and take off the door panel. Af…

Mini
(2007-2014 /
R56, R55, R57)
Do you want to remove the thermostat from your car yourself? Follow these steps to remove the thermostat on a Mini: remove the soundproofing panel fr…
Other guides you may be interested in
|
Frequently Asked QuestionsHow to Adjust the Brightness of the Instrument Cluster on a Peugeot 3008?
To adjust the brightness of the instrument cluster on a Peugeot 3008, you need to turn on the ignition and access the settings via the menu located in the central area of the dashboard. In the screen that appears, select the "Display Configuration" option: now, by selecting the "Brightness" option, you can adjust it using the dedicated slider that will appear on the screen. The adjustment should be made with the headlights on as well as with them off. Once the adjustment is complete, you can turn off the instrument cluster. by ScegliAuto More videos
|
|
For advertising on this site Write to info@scegliauto.com
ScegliAuto is not responsible for any inaccuracy of the data in the lists. To report any inaccuracy or your business (if you own the business in question), please write to info@scegliauto.com
Number of seconds to generate the page: 0.074
(c) ScegliAuto 2026 - info@scegliauto.com - Privacy policy VAT number: IT01247470535 |
